Backyard Buddy 4-Post Lift Cylinder Repair
Share
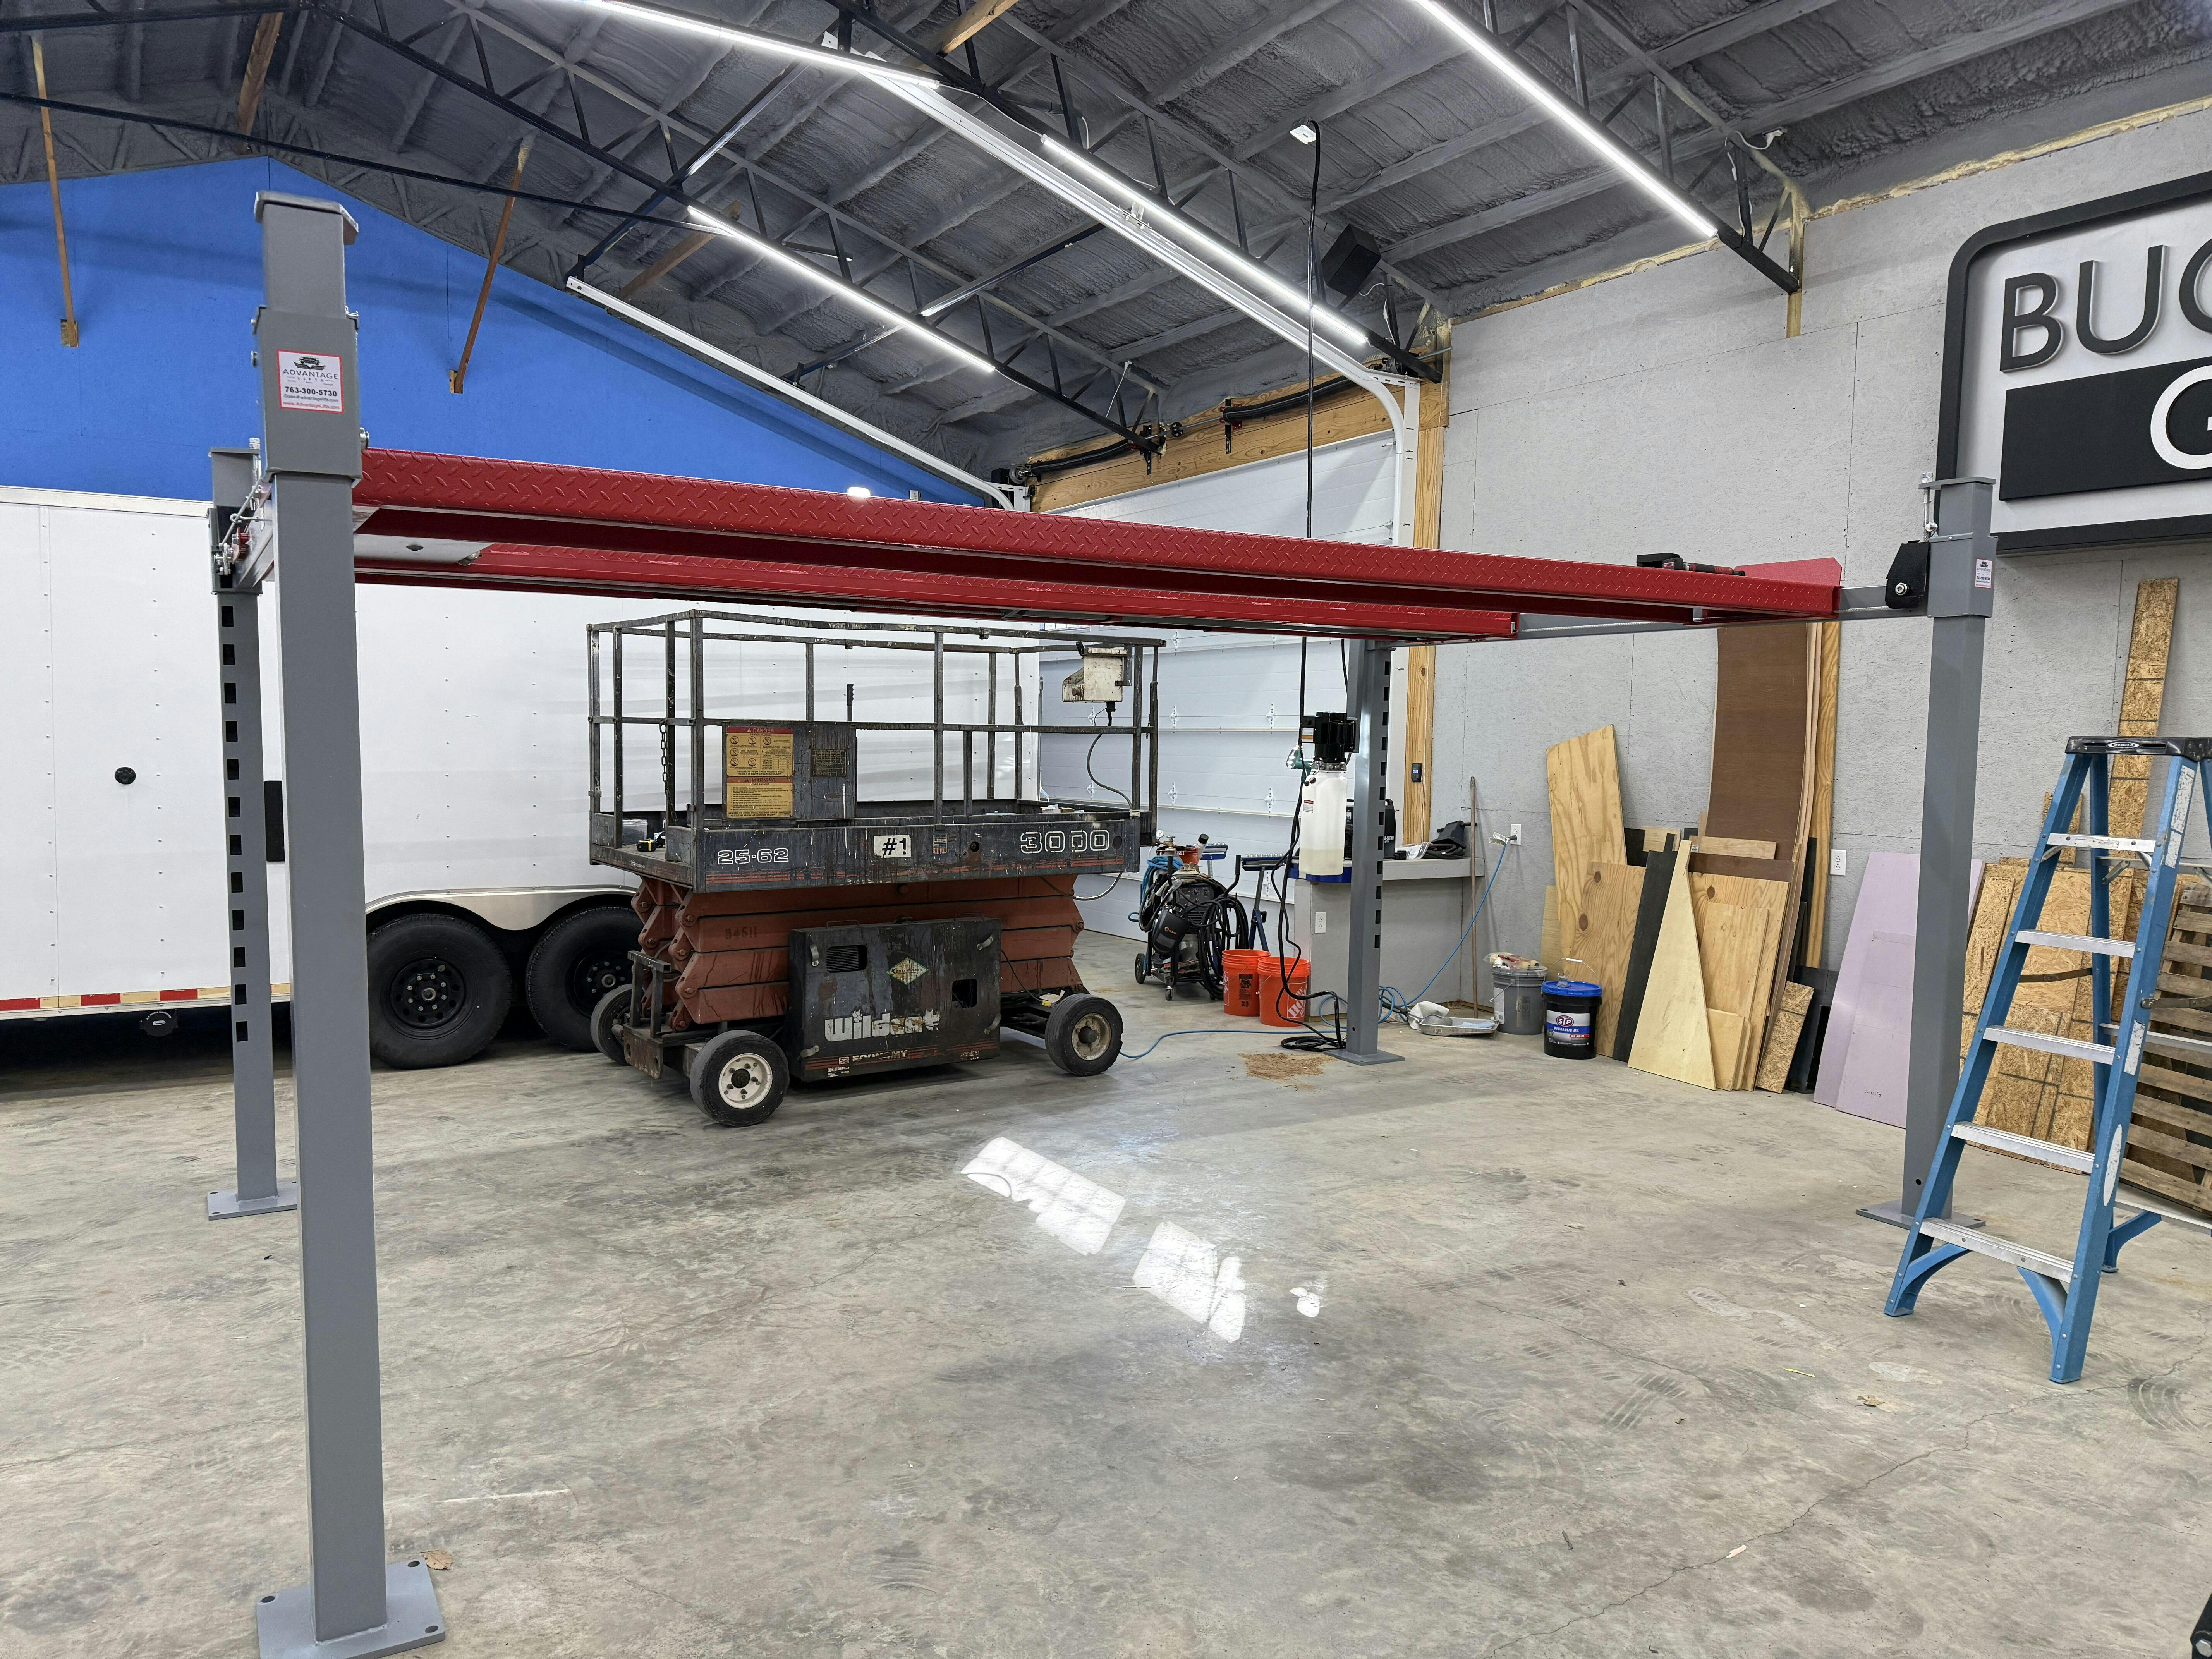
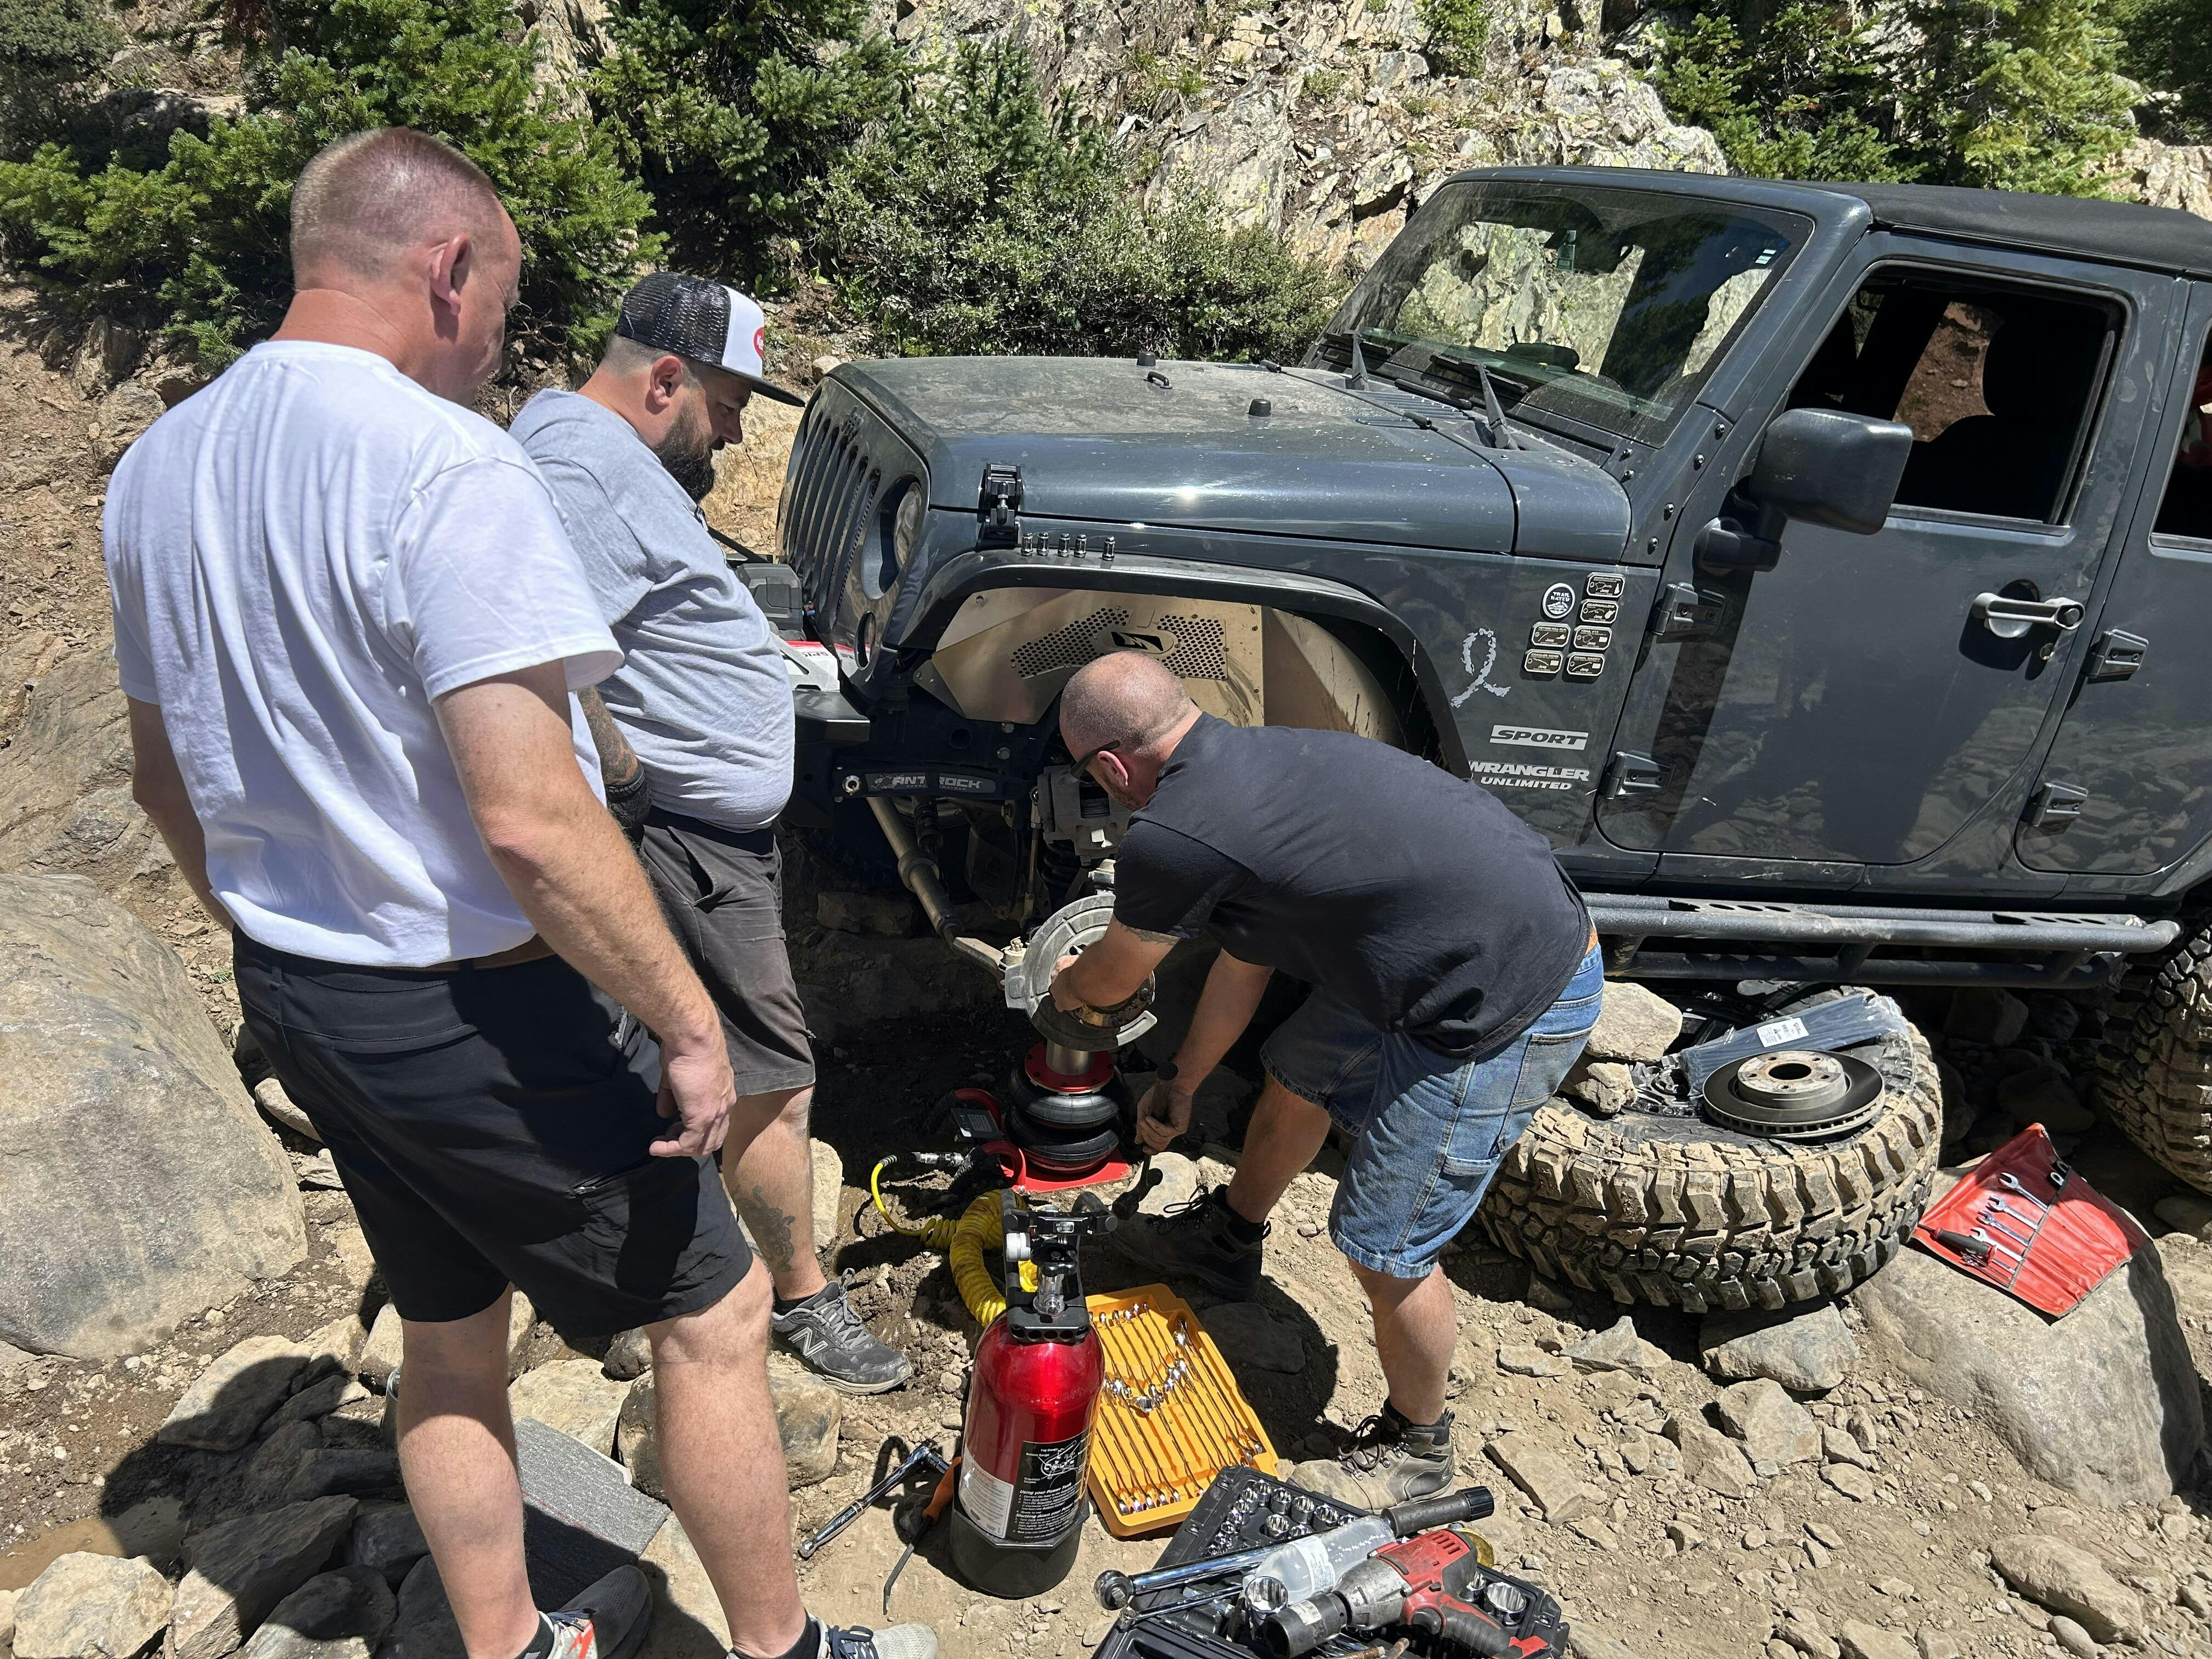
Our company has two storage lifts - the Advantage and the Backyard Buddy that's here. They've both been out there so long that we're starting to have customers call and request instructions on how to rebuild their cylinders. So, I'm going to attempt to pull the cylinder out of this Backyard Buddy, rebuild it, and reinstall it.
Initial Setup
The first thing I did is raise the lift to a comfortable height because the cylinder is underneath the runway. With the power unit, I set it on the locks because the last thing you want to have is any pressure on the system when you start taking hoses and fittings off. As you see, I'm resting on the locks - there's no pressure, the cables are slack, and the lift is safe. Nobody's going to get hurt.
Removing the Cable Block
At this point, I'm going to start to remove this cylinder. The block that pulls the cables is the first thing we must remove. This being the extra height has the compound pulley block on it, where most of yours out there will just have a flat block with studs of the cable sticking through it. Removal is the same on either one.
I know it looks simple the way it goes in here, but I actually put a piece of blue tape on the bottom of this. When I put it back together, I want the blue tape on the bottom because it's possible to put this in upside down. The blue tape on the bottom indicates that this is going to be the bottom when it goes back together. It would be possible to put this block on upside down, which would cause a twist in your cables.
Removing the Nut and Cable Pool Block
The nut on the end here - I have an inch battery impact gun with an inch and a half socket that I'm going to put over the nut. I'm going to hold the rod still because you don't want to put any kind of holding device on this rod that would mar it. If you mar this rod, the next time you put it in, it's going to leak worse than the first one.
I unwind the nut and slide my cable pool block off the end of the shaft, and I'll just let it hang. Because of the retainers, the cables should not jump off the pulleys, so everything should stay intact. If we put it back together with the blue tape facing the floor, we should be in good shape.
Disconnecting the Hydraulic Line
Now we have the cylinder free at this end. We must come down here to the other end - there's a pin that goes through a clevis in the back of the cylinder that goes to a welded stud with a matching hole in it, and that's your pool pin. So, we're going to have to remove that.
Before we work on getting our pin out of the back of the cylinder, we're going to have to disconnect our hydraulic line which goes into the side of the cylinder. I'm going to break my swivel loose here to get residual oil out - that's why I got the bucket. I previously broke this loose, now I can screw this out from the cylinder. Again, residual oil will come out.
I have two caps - a cap and a plug. I'm going to cap the male end and plug the female end. This will do two things: it'll stop the oil and keep dirt out of the system. The last thing you want to do is get dirt in your hydraulic system because that will score your cylinders and get in your check valves, causing issues down the road
Removing the Pin Assembly
Now that's done, we're going to have to remove this pin. We're going to have to move one of these sheave assemblies. Looks like the pin's favoring this way, so I'm going to take this one out. There are two Allen set screws that hold the pin in. For your information, it's a 5/32 Allen wrench that you'll need to remove these.
If you notice, all the tools I'm using on this lift are American - it's because the Backyard Buddy is made right here in the USA. Now I got both my set screws out. There's not much to pull this pin out, but there's this little plug where your zerk fitting goes in, and that gives me enough to grab hold of it.
There's a snap ring on the pin and a washer, and then the pin will pull out. When this pin comes out, you're going to have the weight of this cylinder on you, so at this point, you want to make sure that you've got enough to handle it. If you need help, I would get some help. If you think you can get it, go for it.
Extracting the Cylinder
With the pin out, the cylinder's basically just setting here. So I'm going to pull it forward, get it cocked, and try to slip it out underneath here. Because my rod's extended, I hope I have enough room to get it out. You may want to get someone to help you at this point, but I think I can get it.
Workbench Setup
Now we have the cylinder extracted, we're going to take it to a workbench and tear it apart and rebuild it by putting in new seals. If you don't have a good vice mounted to a solid workbench, you may want to figure something else out. There is another option - if you have the tripod plumbing stands that plumbers use to thread pipe, they work real well. We use them out on the road, but while I'm here, I'm going to use the vice we have.
Beginning the Rebuild
Now it's time to rebuild the cylinder. I'm going to remove the plug put in back here. I'll put a rag over it because if we can get a close-up of this - this is your head nut that holds your seal. If you're leaking from this shaft, the seal is inside this head nut.
What we have to do is tap it back into the cylinder, and then there's this retaining ring in there we have to remove. Then we're able to work that head nut out. I put the nut back on the end of my threads here because if anything happens and this falls on the ground or bumps it, we don't want to mess up these threads. Because then you have to figure out a way to chase them and get them straightened up. So it's always good to have a protective cover, and the best thing is the nut that comes with it.
Important Note About Older Models
Before I go further, I may want to mention - if you're rebuilding your cylinder, you most likely have the older style. They used to put a cover plate over this; it's just a flat plate with a hole in the center to go over the shaft with two cap screws. The idea of that plate is it actually holds the head nut out to the end, but over the years, they realized that the pressure inside the cylinder actually is all it needs to hold this out, so they eliminated that. So if you have a round cover plate with two cap screws, just remove the cap screws, remove that plate, and you'll have what I have here now.
Removing the Head Nut
Now I'm going tap back on my packing nut. I'm using a rag to protect the shaft because there's no reason to nick this - that will only cause you leaks down the road. You can see how it pushed a little bit of oil out when it went back. Now it's fighting to get that ring out of there. I'm going to put my plug in back down here, just again, anything to prevent dirt getting into your system.
Working with the Cylinder Rod
This ring is like a snap ring, only it doesn't have ears to use pliers on. It's round and spring steel, and I'm going to use a couple of small screwdrivers to work it out of there. I'm going to take a rubber mallet and tap on the end of the rod to try to work the piston. You can see the head nut is starting to come out.
Remember, we had this up in the air three-quarters of the way, so this cylinder between the piston and the head nut is full of oil. Once this outside seal gets past, we're going to get oil running out of there. Don't go too crazy because I don't want to make more of a mess. You're going to need at least a couple gallons of fresh oil to refill your system.
Inspecting Components
Keep sliding this back in to keep everything square inside because there's tight tolerances. What you want to look for is how nice and smooth this is on the inside. If this is scored or rusted, it's a good chance it's not going to last very long when you put new seals in. You may want to send it out to get it honed.
If it scores the seals on the end of the piston, it will show the scores that are inside your cylinder. It'll cut the seal in the same pattern as the cylinder scores.
Rebuilding Process
Now we're going to remove our piston. There's a big nut on the end, which just happens to be the same size socket as the nut on the other end that holds the pool block on. The piston should come off, and you'll see there's a seal that seals the inside of the piston.
You might ask why I don't just pull it off the other end. If you look closely, there's a taper. That taper is needed to be able to start this back on without messing up your seals. If you try and force it in on this end, there is no taper - it's like running into a wall.
Working with Seals
To remove the old seals, you're going to need a probe or pick or some sharp instrument that will be able to dig into the seal and pull them out of the groove. Don't scratch the aluminum because if your probe scratches this aluminum, that's another place your seal can fail.
On the outside of your head nut, we have an O-ring and a backup washer. Rarely do these ever go bad because it's what we call a static seal - nothing moves through it, unlike the rod moving through your rod seal. Once these are in and seat, there's no wear or tear involved with them. But they come in the kit, so we're going to replace them anyway.
Installing New Seals
The main rod seal - if you're leaking out around the shaft, most likely this is the seal that has gone bad. It's flat on one side and V-shaped on the other side. The V shape has to face the pressure because once this is inside here, as the pressure is trying to go through there, it actually expands the seal, both the inner and outer lip, making a tighter fit.
There's a special tool we have for putting these in, but most likely you're not going to have that. You must fight with it a little bit, but you can get it in. What you don't want to do is put screwdrivers, probes, or anything in there that's going to nick the seal.
Installing the Wiper Seal
The next one is a wiper seal, and it goes in with the lip up. What that does is if dirt gets on the rod, it wipes it off before it gets to the seal, keeping the seal from going bad because of dirt. That's why it's literally called a wiper.
Lubrication and Assembly
I like to grease all the rubber parts with regular wheel bearing grease - any brand will do as the seals are resistant to grease. It's just for that initial break-in period until they get oil around them when back in operation.
With our taper there, it slips on even with the new seal. Look around to ensure there are no pieces of rubber that got cut sticking anywhere. The kit doesn't have a new O-ring for in here, but again it's a static seal, so it will never have any reason to fail.
Installing the Piston Seal
This is a two-piece seal - the orange part does the sealing, but there's a black piece underneath that works like an expander. Make sure the black seal doesn't roll when we put it in there. The colored sealing part (usually pink or blue) does the actual sealing. They stretch a little bit on - just stretch them enough to get them on, but don't over-stretch them.
Final Assembly
With everything rebuilt, we'll remove the rod from the vice. Looking at the rod, there should be no marks - no reason for the seal to go bad. I like to use grease here to help prevent any drag or catching on the way in.
We'll take the plug out so air can go in there, keeping things even. The head nut should slide in smoothly if everything's lined up correctly. Don't push it in much further than you had it out to begin with, as it's going to have to come out to go back onto the block.
Reinstallation
When reinstalling, remember that on one side our spacer is on the top, meaning the cable goes underneath this one. On the other side, our spacer has to be on the bottom to hold the cable above. Don't assume they look the same - they will be different to keep the cables from rubbing against each other.
Final Steps and Testing
- Hook up the hydraulics using Teflon tape (wrapped clockwise) or pipe dope
- Install the velocity fuse (safety device)
- Connect the hose without any kinks or twists
- Run the system to fill the cylinder
- Check for leaks:
- Where the Teflon tape and velocity fuse go in
- At the swivel connection to the hose
- At the vent
- Around the shaft seal
Let it go down to get the air out, then run it back up and down a few times. It's self-bleeding, so once you've done this, your cylinder rebuild is complete!
Contact our Lift Experts for questions and concerns at 763-300-5730!