How to Install a Side-by-Side 10,000 Pound Two-Car Lift: A Step-by-Step Guide
Share
Installing a Side-by-Side 10,000-pound two-car lift is a great way to maximize your garage or workshop space while ensuring safe and efficient vehicle maintenance. Whether you're a professional mechanic or a car enthusiast, setting up this heavy-duty lift requires careful planning, the right tools, and strict adherence to safety guidelines. In this step-by-step guide, we’ll walk you through the entire installation process—from site preparation to final safety checks—so you can confidently set up your two-car lift for long-term reliability and performance. Before you begin the project, you will need the following tools.
- Material handling lift (hand-crank forklift with 600-pound capacity)
- 19mm deep socket and enclosed wrench
- Impact wrench with 1/16 socket
- Straps for lifting heavy components
- Funnel
- 5-gallon bucket
- Hydraulic oil (approximately 2.5-2.75 gallons)
- Duct tape
- Phillips head screwdriver
Initial Setup
Begin by carefully unpacking the lift, ensuring that all components remain protected from damage during the process. Lay out each part in an organized manner, keeping track of bolts, brackets, and hydraulic components to avoid misplacement. Next, prepare your workspace by clearing enough room to comfortably maneuver the large lift sections, preventing any obstructions that could interfere with the installation. Since some parts of the lift are heavy and difficult to handle alone, have an assistant ready to help with lifting and positioning key components safely. Taking these preparatory steps will make the installation process smoother and more efficient.
- Unpack the lift carefully, keeping all components protected.
- Organize your workspace with enough room to maneuver large lift sections.
- Have an assistant ready to help with heavy lifting.
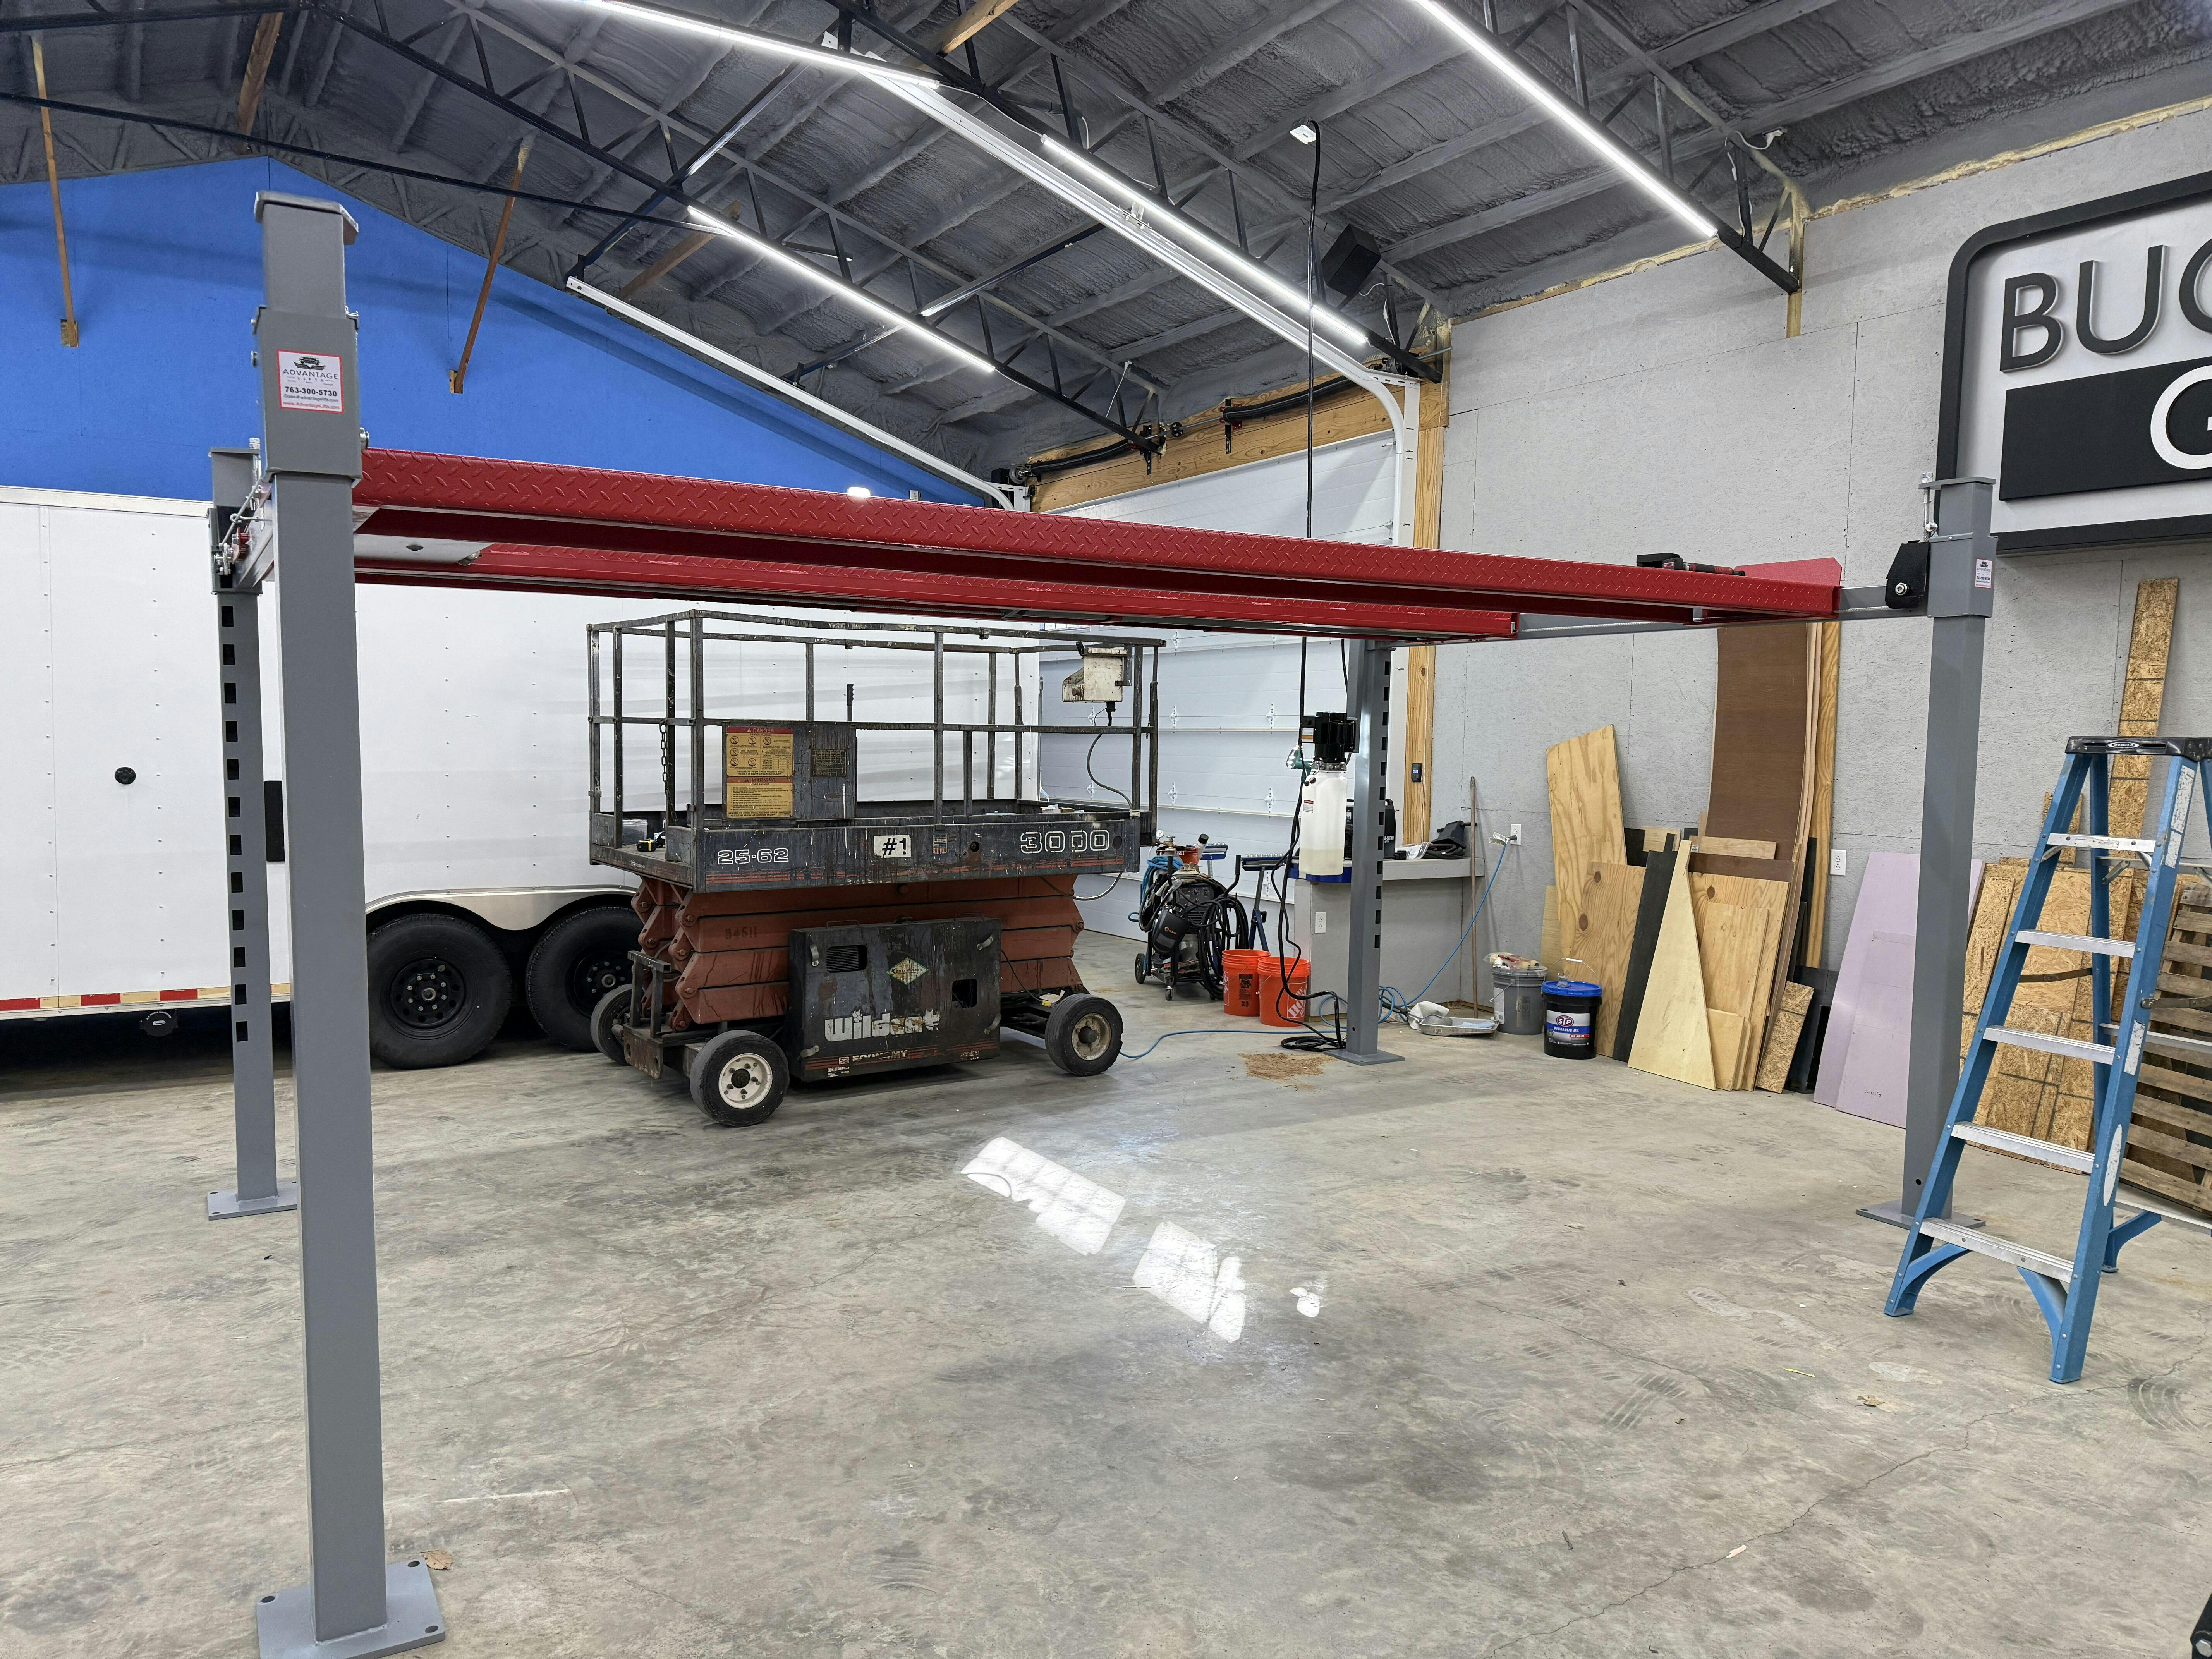
- Unboxing and Positioning Posts
Identify the right and left posts by checking lock cutouts. Locks facing the outside of the lift. Align front and back posts correctly. Position posts on the seventh lock from the bottom.
Installing Cross Arms
To safely lift the cross arms, which weigh approximately 600 pounds, use a heavy-duty strap to ensure stability and control during the process. Before positioning them, open the locks and secure them with cardboard or duct tape to prevent any obstructions that could interfere with the installation. Using a material handling lift, carefully lower the cross arms onto the posts, making sure they are properly aligned. To protect the components from damage, insert slider blocks between the metal surfaces, preventing direct contact and reducing the risk of scratches or wear over time. Taking these precautions will help ensure a smooth and secure installation.
- Use a heavy-duty strap to lift cross arms (approximately 600 pounds).
- Open locks using cardboard or duct tape to prevent obstruction.
- Carefully lower cross arms onto posts using a material handling lift.
- Insert slider blocks to prevent metal-on-metal scratching.
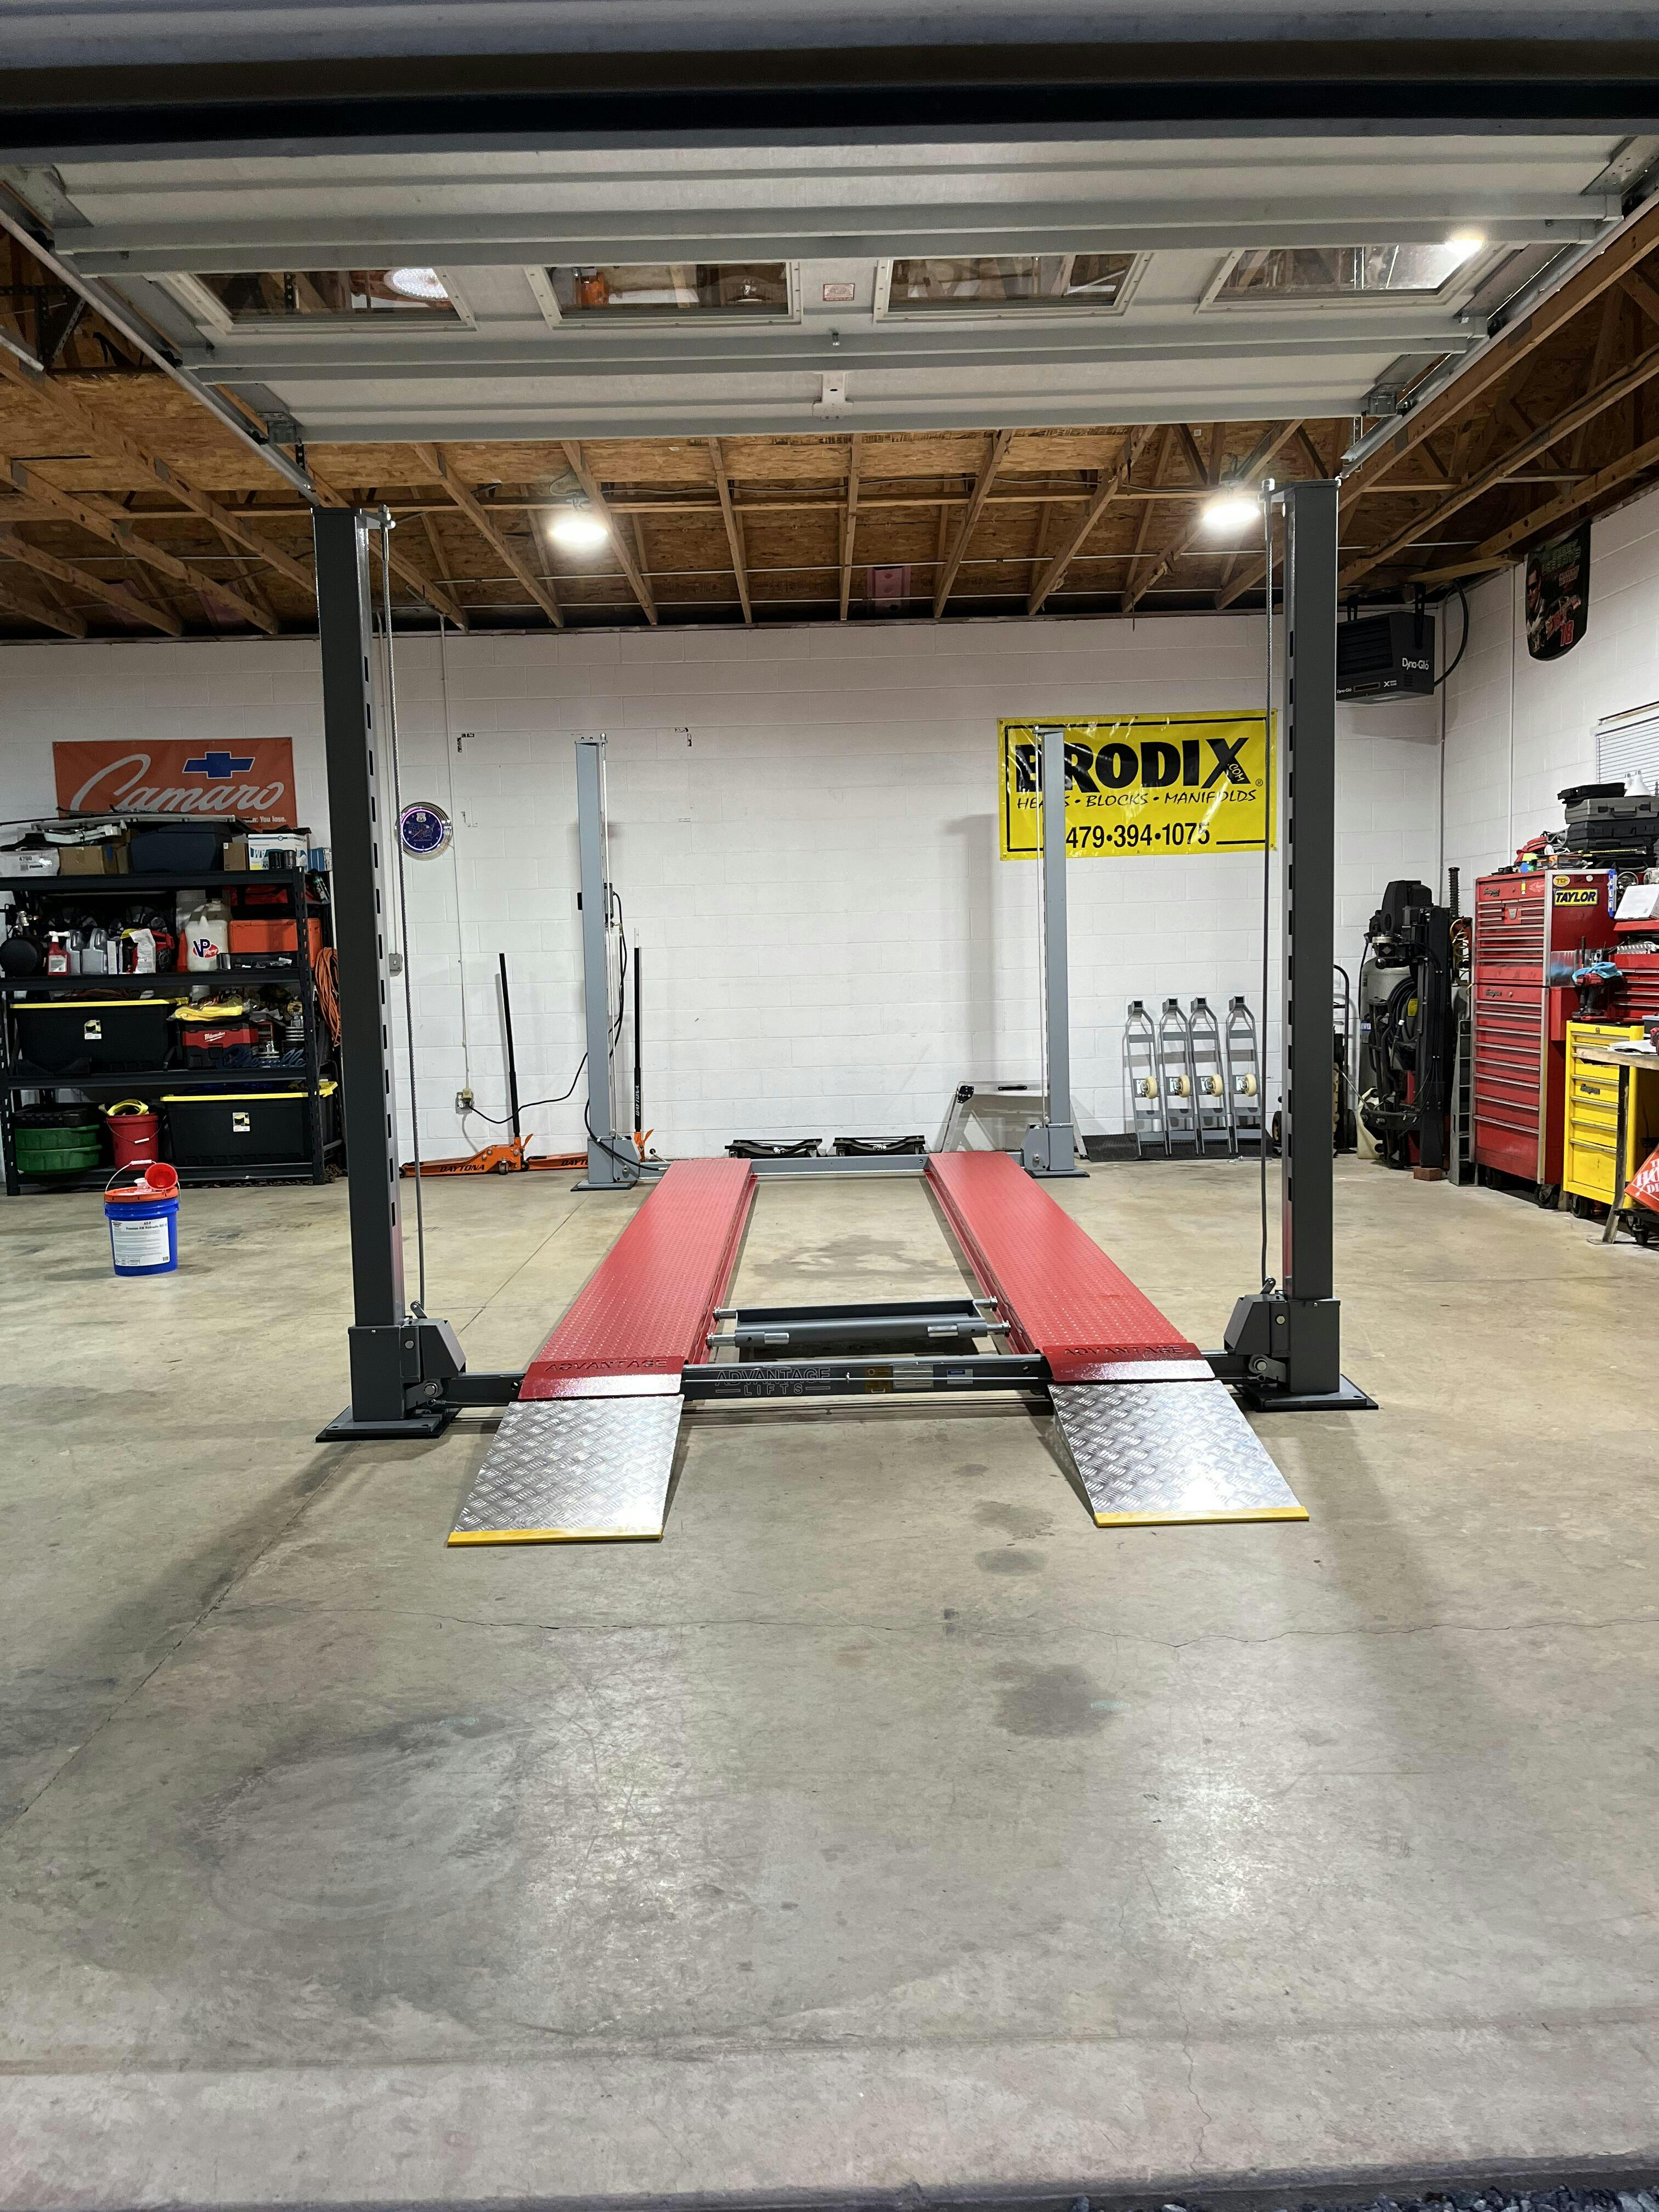
Track and Ramp Installation
- Attach tracks to cross rails using ramp clips and bolts.
- Ensure tracks are positioned at the outer edge of bolts.
- Tighten bolts systematically - start with middle tracks, then move outward.
Cable and Top Cap Setup
Begin by routing the cables through the designated tracks, ensuring they are properly aligned for smooth operation. When installing the top caps, pay close attention to their orientation to guarantee a correct and secure fit. Once the cables are in place, fasten them securely using washers and double nuts, which will help maintain tension and prevent loosening over time. To further ensure stability, install keeper screws, which will prevent any unwanted movement of the sliders. Taking these steps carefully will enhance the lift's performance and longevity.
- Route cables through tracks.
- Install top caps with attention to orientation.
- Secure cables with washers and double nuts.
- Install keeper screws to prevent slider movement.
- Hydraulic and Lock Rod Configuration
To properly configure the hydraulic and lock rod system, start by connecting the hydraulic port and securely attaching the hoses to ensure a leak-free setup. Next, install the lock rods using Heim joints, making sure they are properly fastened for smooth operation. Adjust the T-bar handles so they are positioned just past or before the 12 o’clock mark, ensuring optimal functionality and ease of use. Finally, connect both the long and short lock rods, carefully aligning them to maintain proper engagement and synchronization. Following these steps will help ensure the lift operates efficiently and safely.
- Connect hydraulic port and hoses.
- Install lock rods with Heim joints.
- Adjust T-bar handles to just past or before 12 o'clock position.
- Connect and align long and short lock rods.
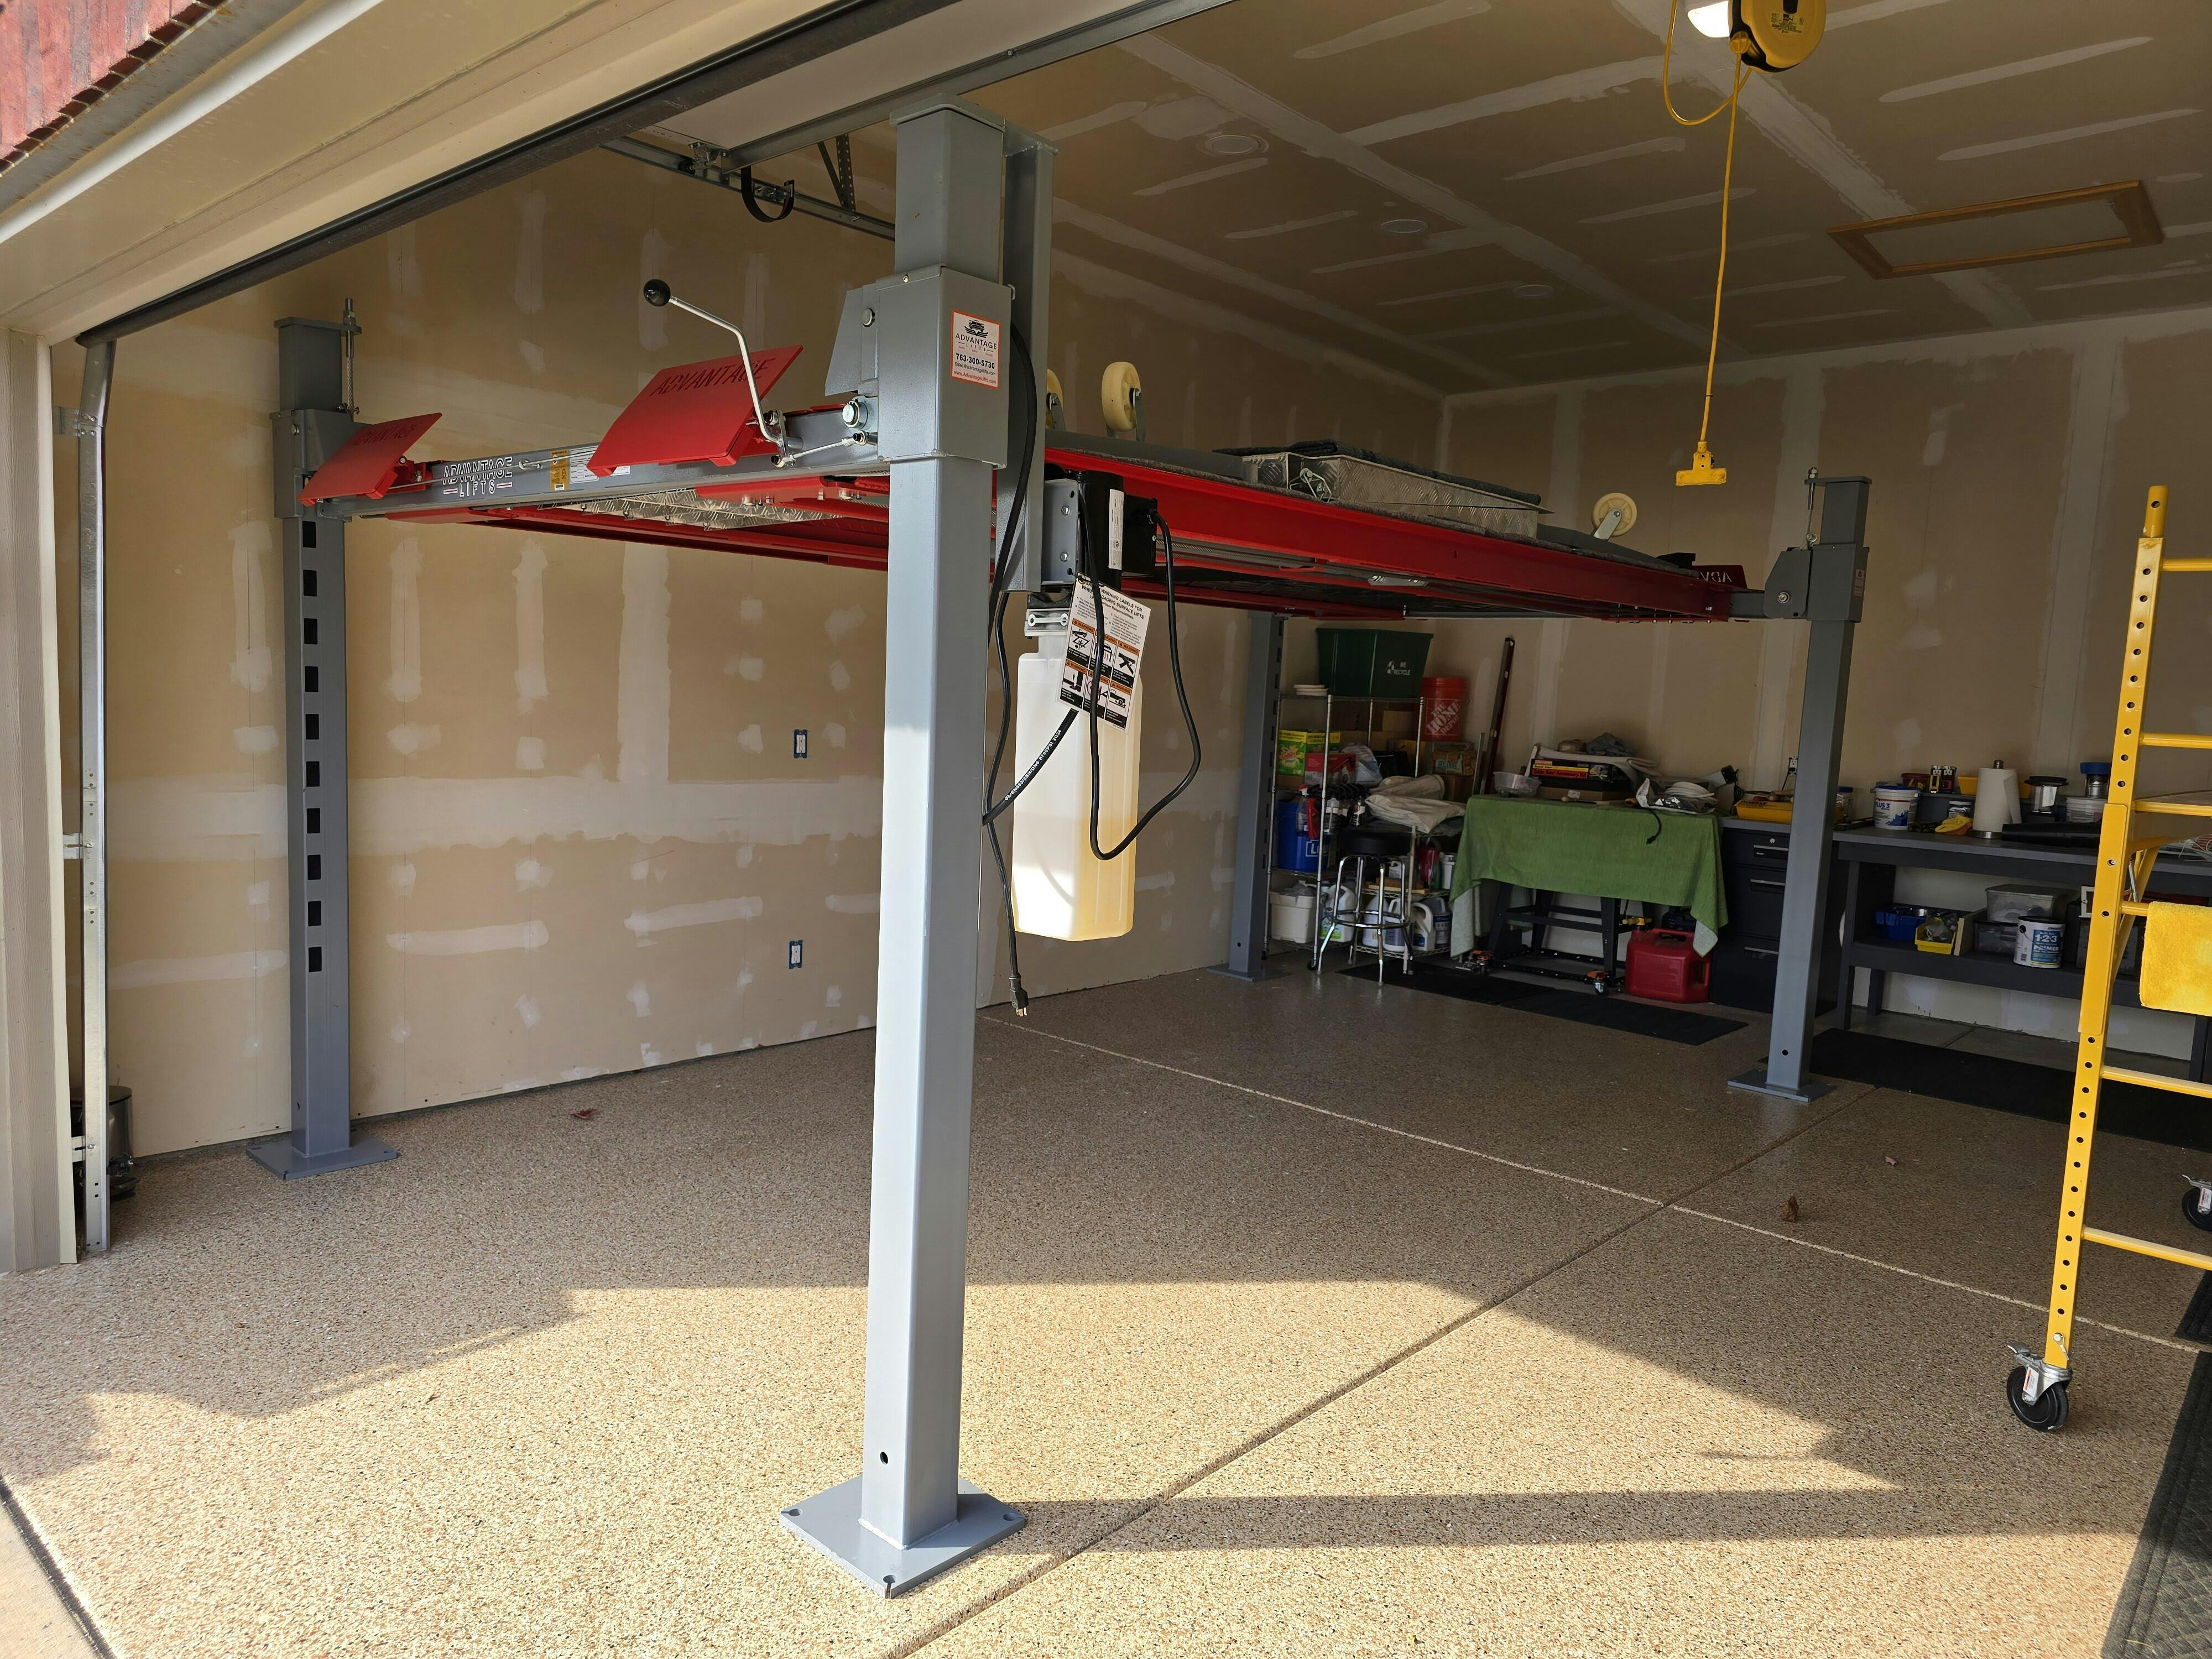
- Power Unit Installation
To begin the installation of the power unit, mount the power unit bracket securely to the top post, ensuring it is properly aligned for stability. Use shims as needed to achieve a level mounting surface, which is crucial for the unit’s proper operation and longevity. Once the bracket is firmly in place, connect the 90-degree hydraulic fitting, making sure it is tightened securely to prevent leaks and ensure efficient hydraulic flow. Taking these careful steps will help maintain the lift’s performance and reliability over time.
- Mount power unit bracket to top post.
- Use shims to ensure level mounting.
- Connect 90-degree hydraulic fitting.
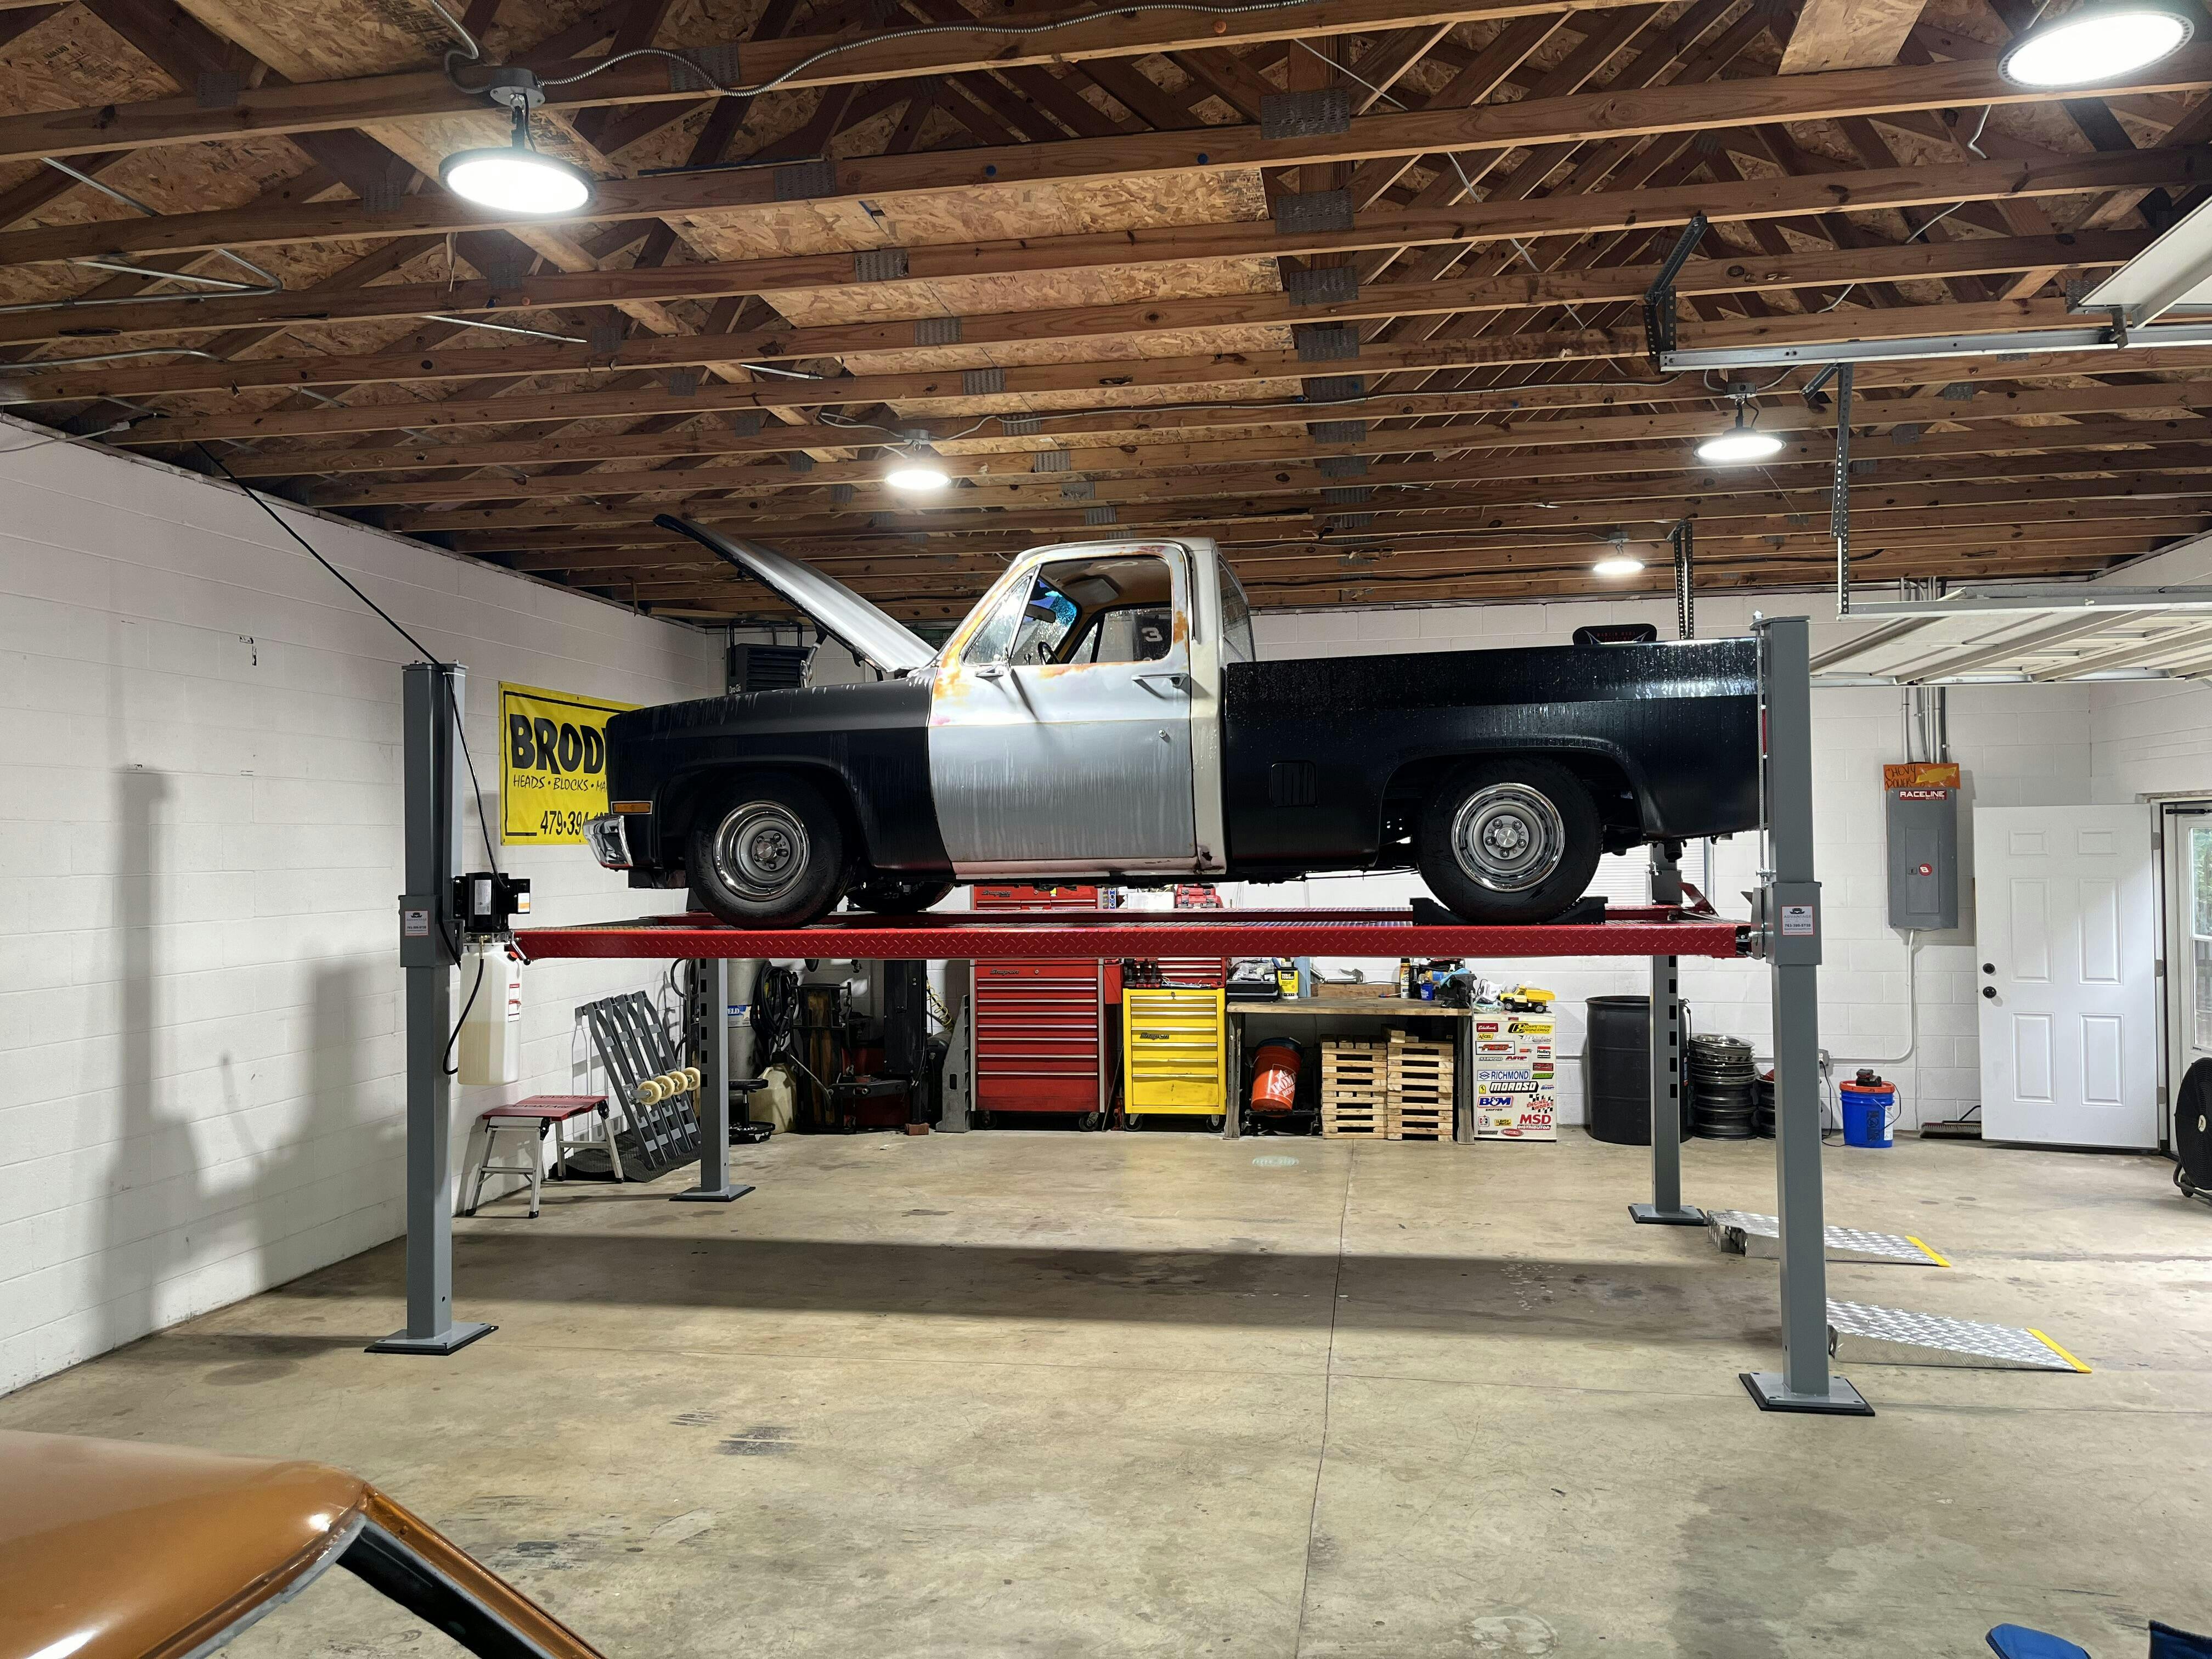
Final Setup and Calibration
Fill reservoir with hydraulic oil to the top rib. Connect to 220V, 20-amp breaker. Raise and lower lift to bleed air from system. Level lift by adjusting cable nuts at each corner.
Always use a material handle lift if possible. Work carefully to avoid scratching metal surfaces. Take time to align and level components precisely. Have an assistant help with heavy lifting
Safety Considerations
Wear appropriate safety gear. Follow the manufacturer's instructions carefully. Ensure a level, stable installation surface. Have the lift professionally inspected after installation. Proper installation of a two-car lift requires patience, precision, and attention to detail. Following these steps carefully will ensure a safe and functional lifting system for your automotive workshop.
Note: This guide is based on a professional installation walkthrough and should be used in conjunction with the manufacturer's specific instructions.