How to Install a Car Lift at Home (Step-by-Step Guide)
Share
Installing a car lift at home is one of the most impactful upgrades a homeowner can make, but the process requires careful planning and attention to detail to ensure both safety and performance. While many modern 4-post lifts are designed to be user-friendly and suitable for DIY installation, the success of the project depends on proper preparation and a clear understanding of each step involved.
The first and most critical consideration is the condition of the garage floor. A car lift must be installed on a level concrete surface that meets the manufacturer’s thickness requirements, typically at least four inches. Any imperfections in the floor can compromise the stability of the lift, making it essential to verify that the surface is both level and structurally sound before proceeding. In addition to the floor, access to an appropriate power source is necessary, as most lifts operate on either standard 110-volt outlets or upgraded 220-volt systems for faster performance.
Once the environment is prepared, selecting the right location within the garage becomes the next priority. This involves ensuring adequate clearance on all sides, accounting for ceiling height, and positioning the lift in a way that allows for easy vehicle access. Careful measurement and layout planning at this stage can prevent costly adjustments later, especially in tighter spaces where every inch matters.
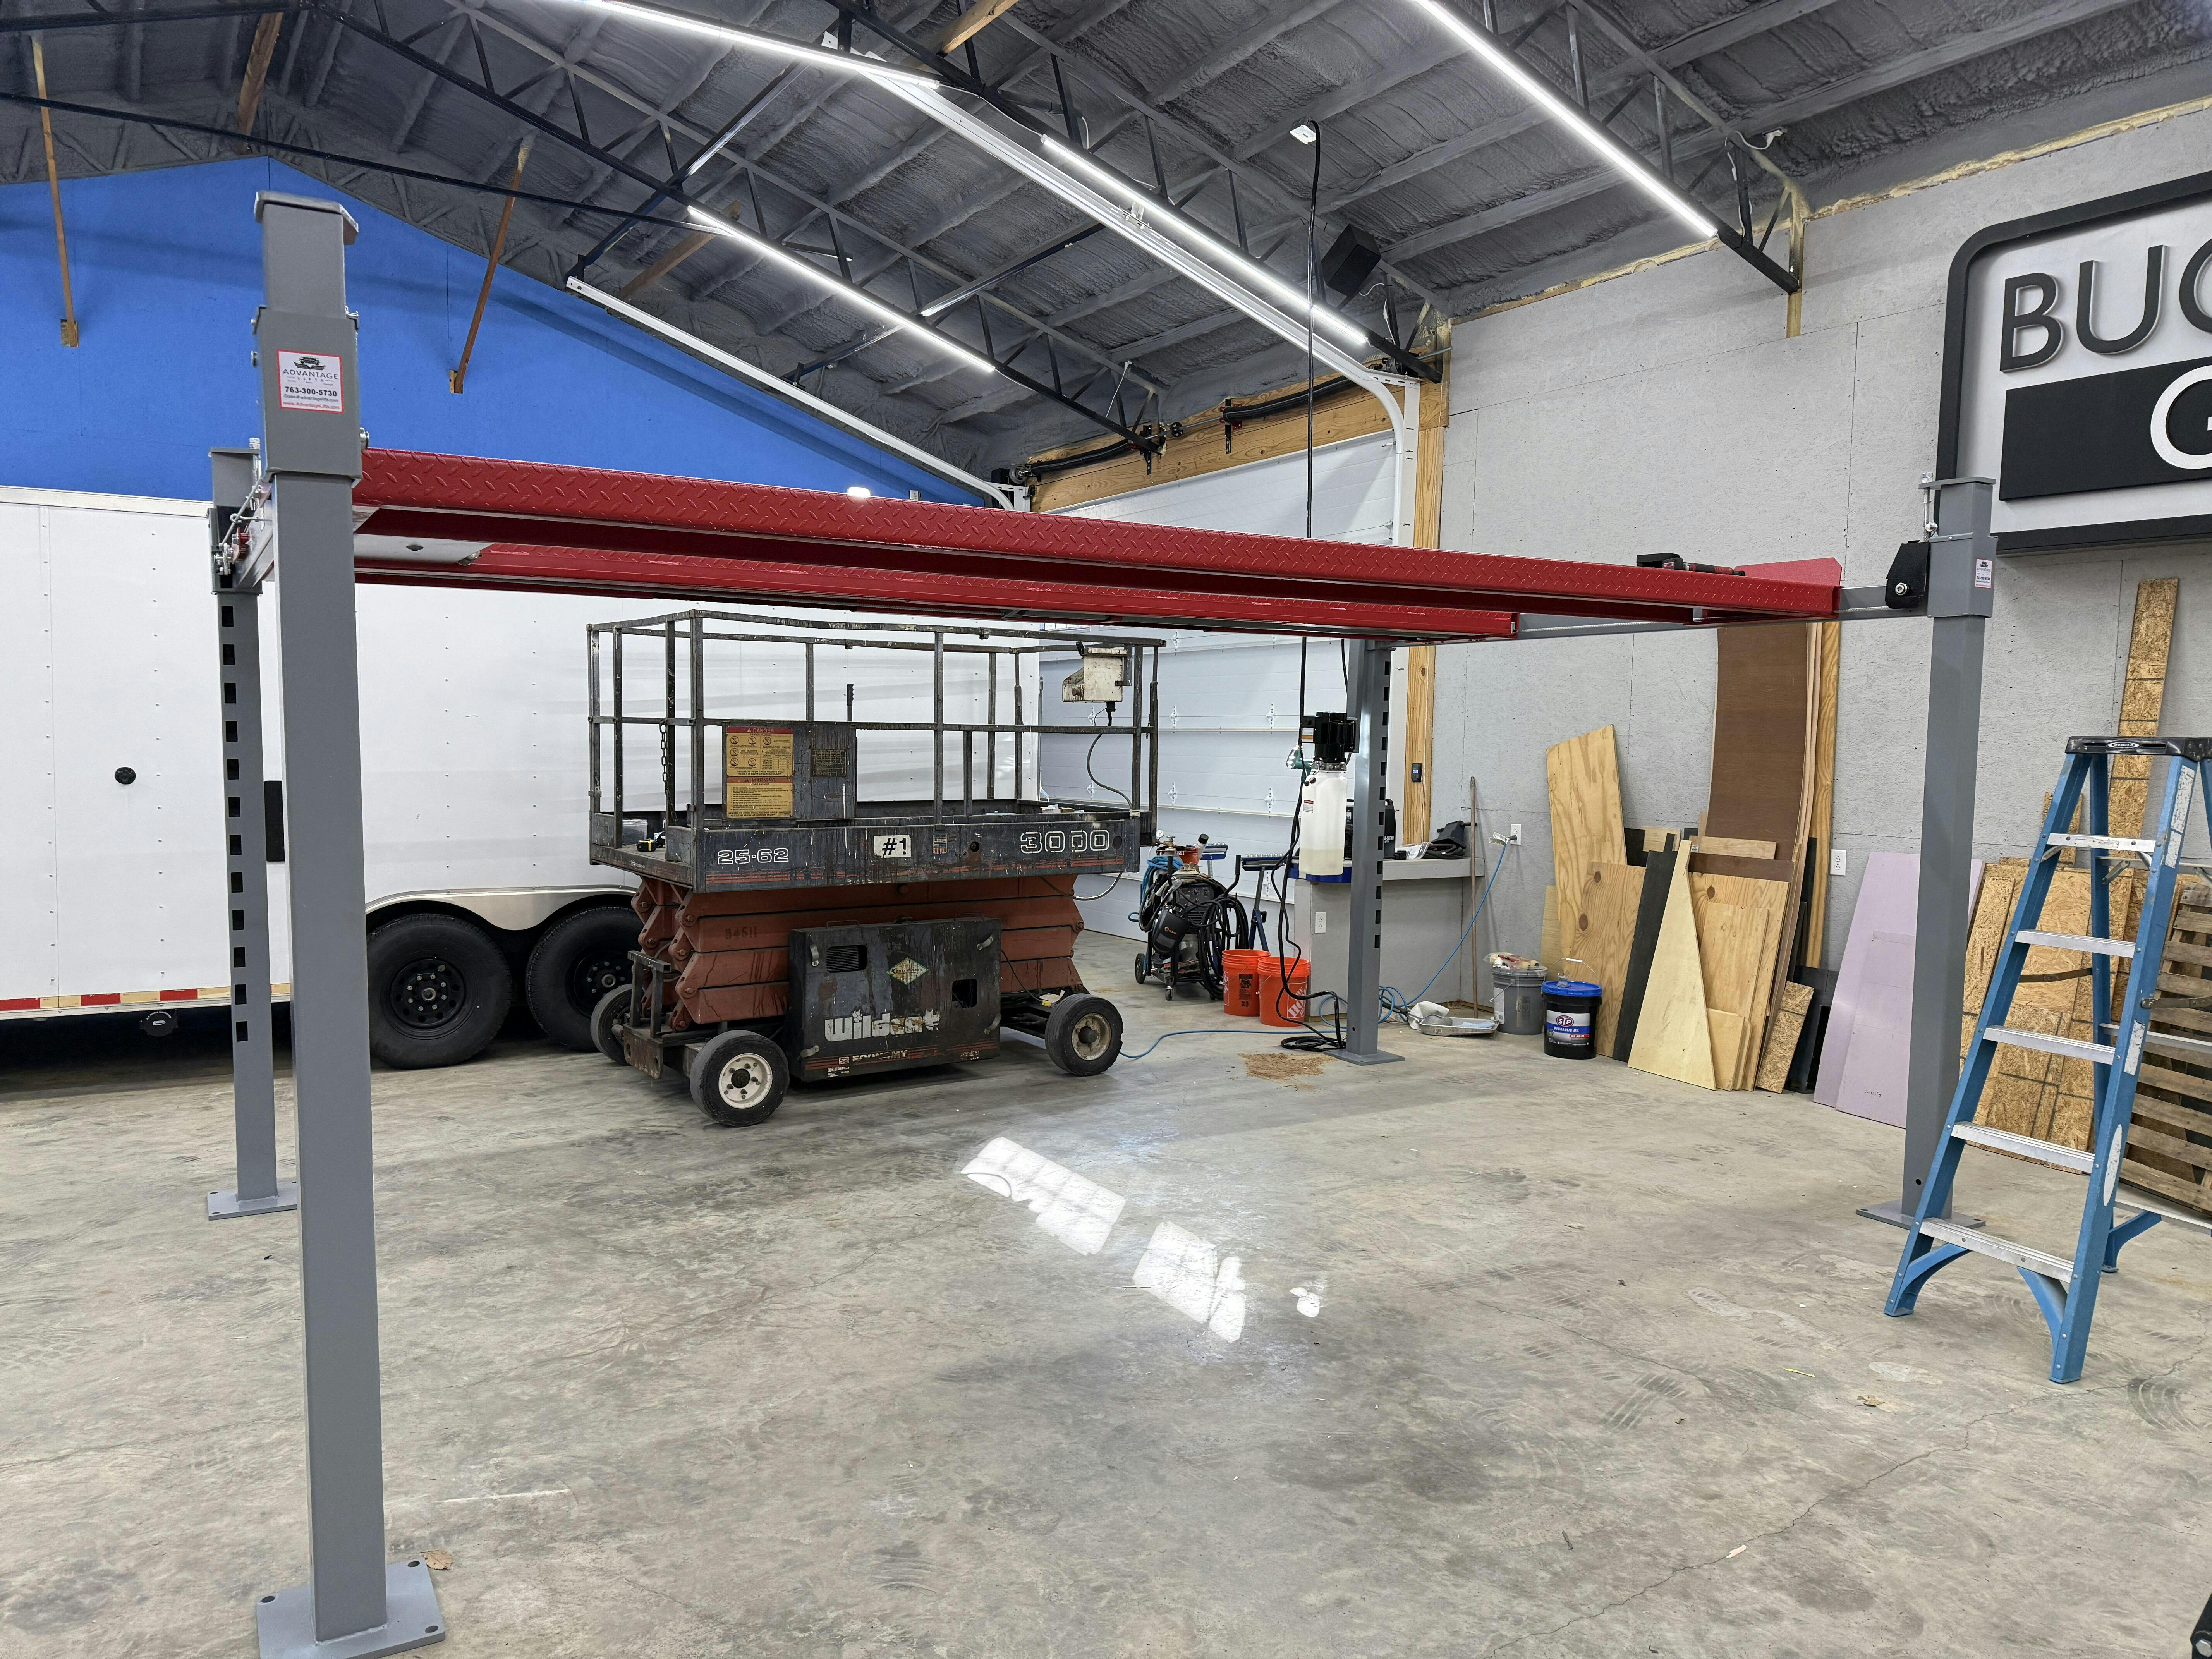
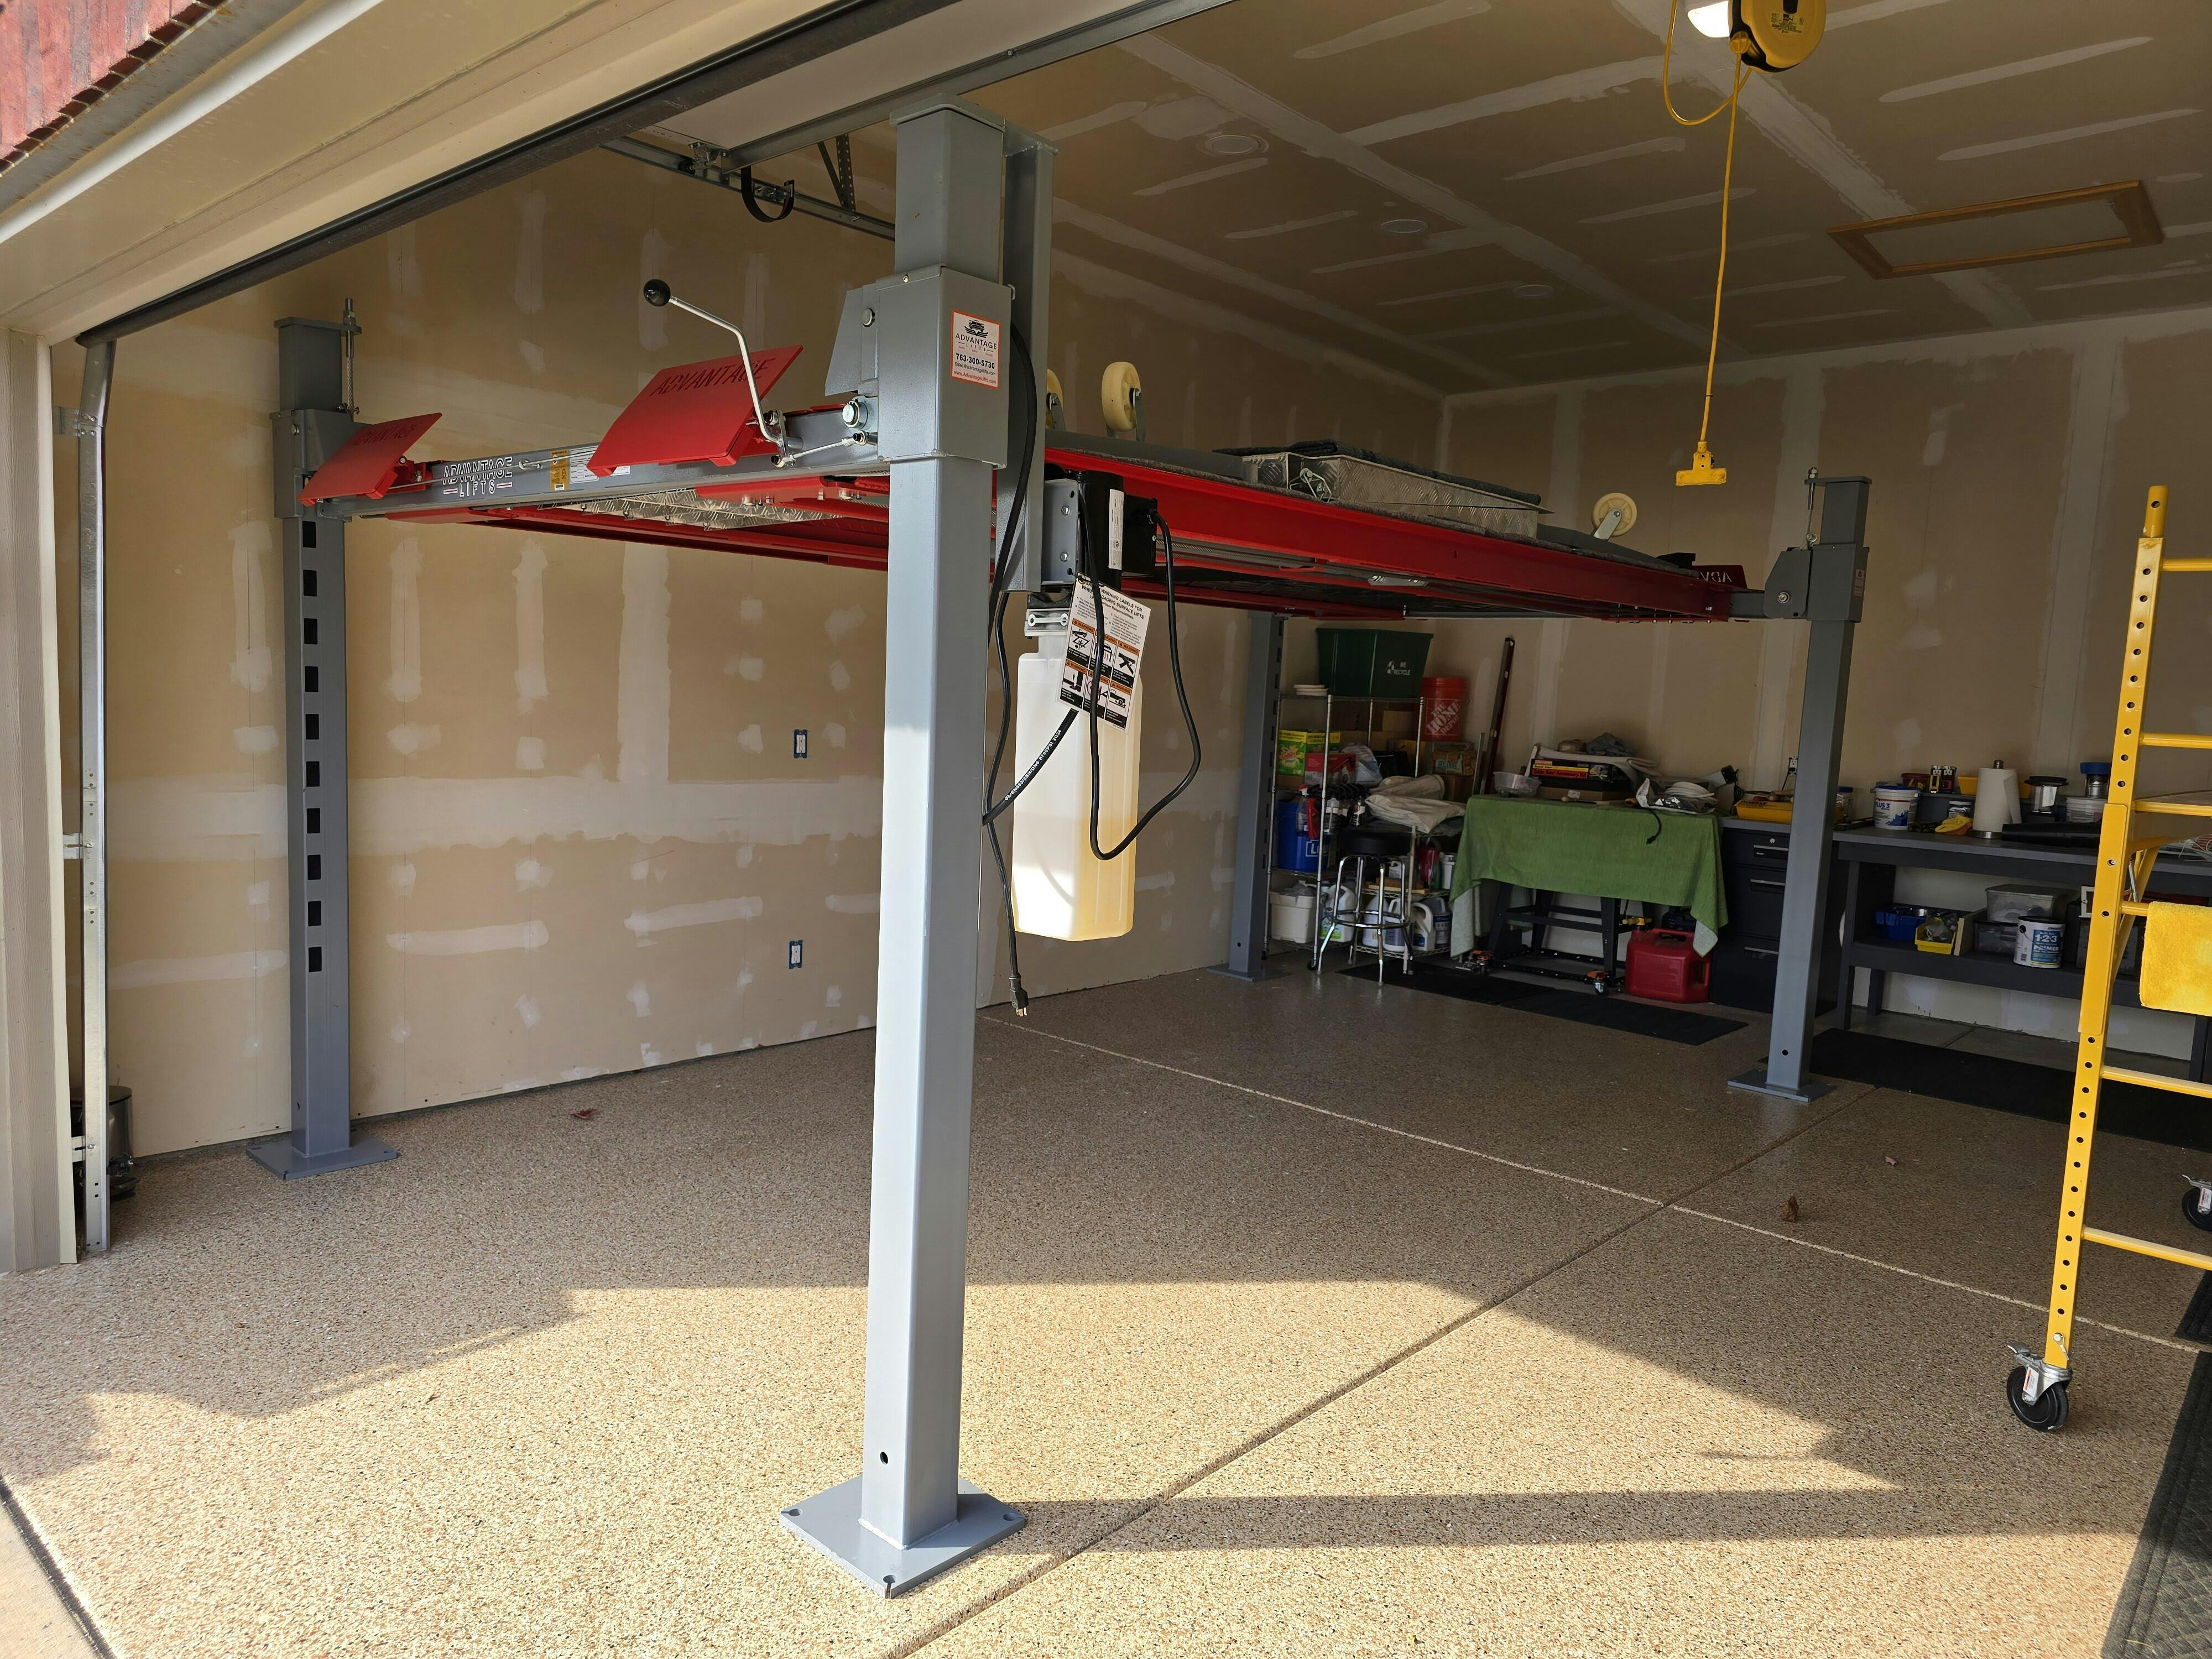
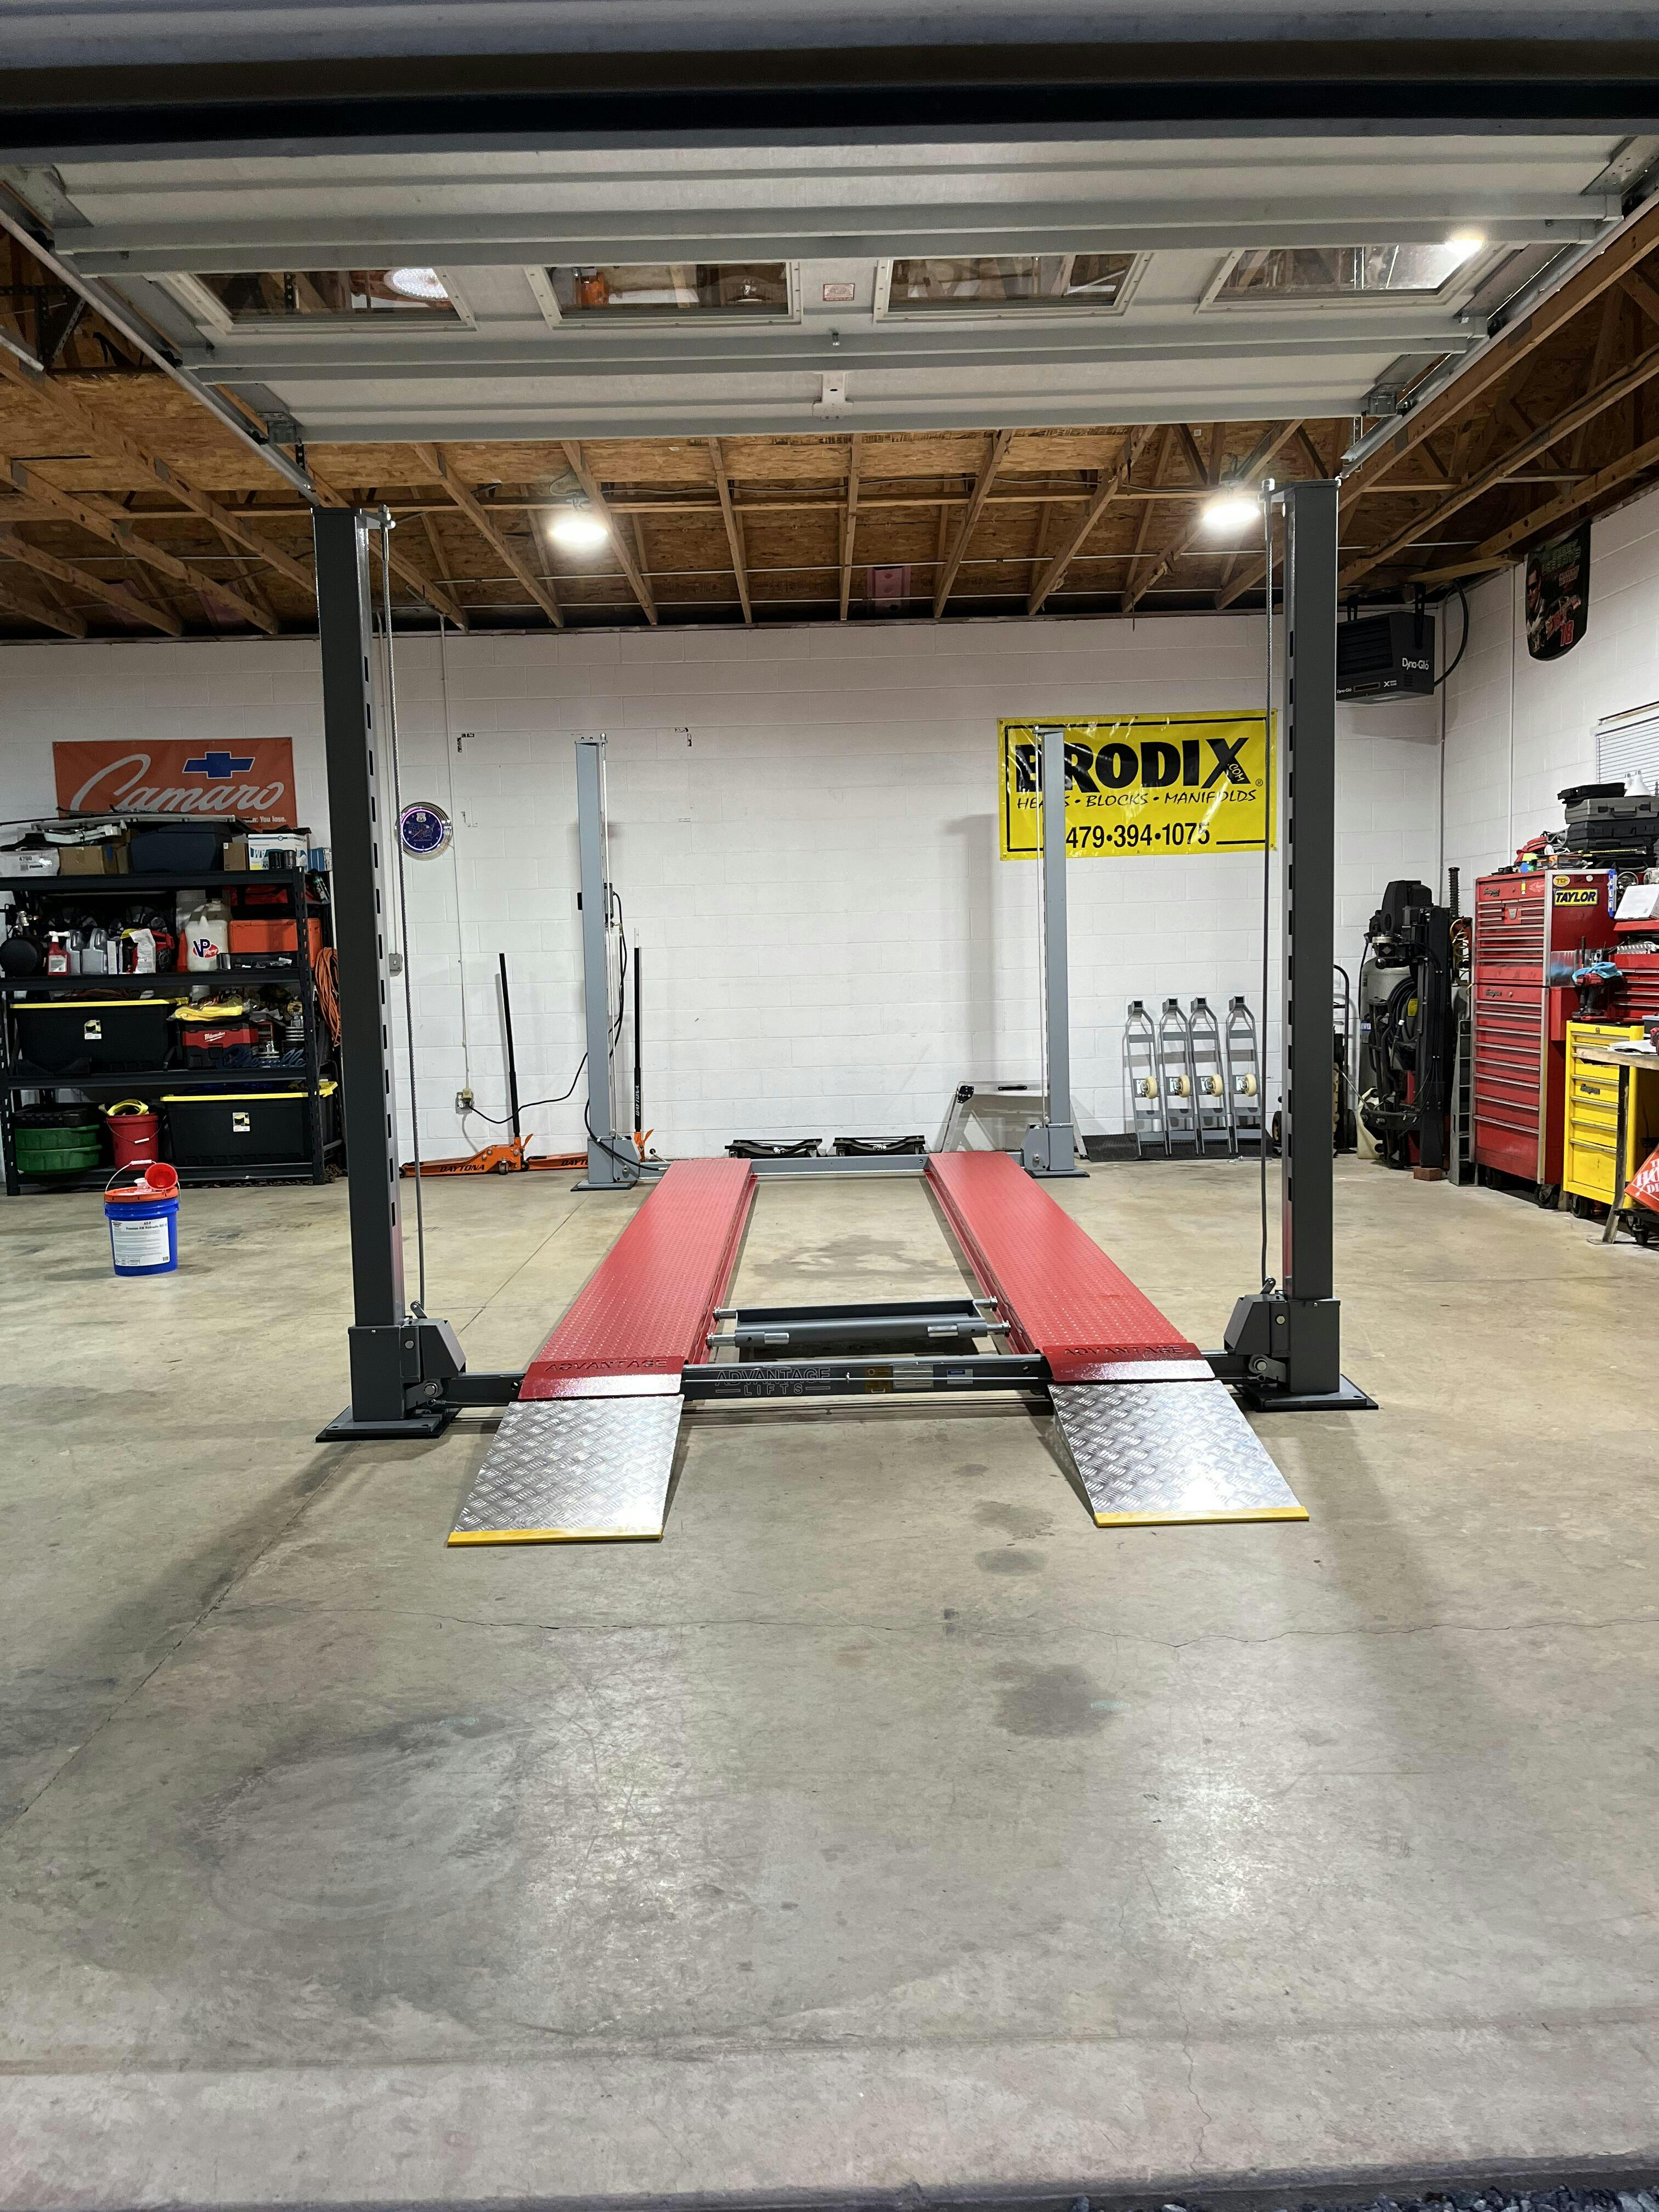
The assembly process for a 4-post lift typically begins with positioning the posts and connecting the crossbeams, followed by installing the runways that support the vehicle. While the components are designed to fit together systematically, precision is important to ensure the structure remains square and aligned. After the main frame is assembled, the hydraulic power unit is installed and connected, allowing the lift to raise and lower smoothly. Testing the system at this stage is essential, starting with slow movements to verify that all components are functioning correctly.
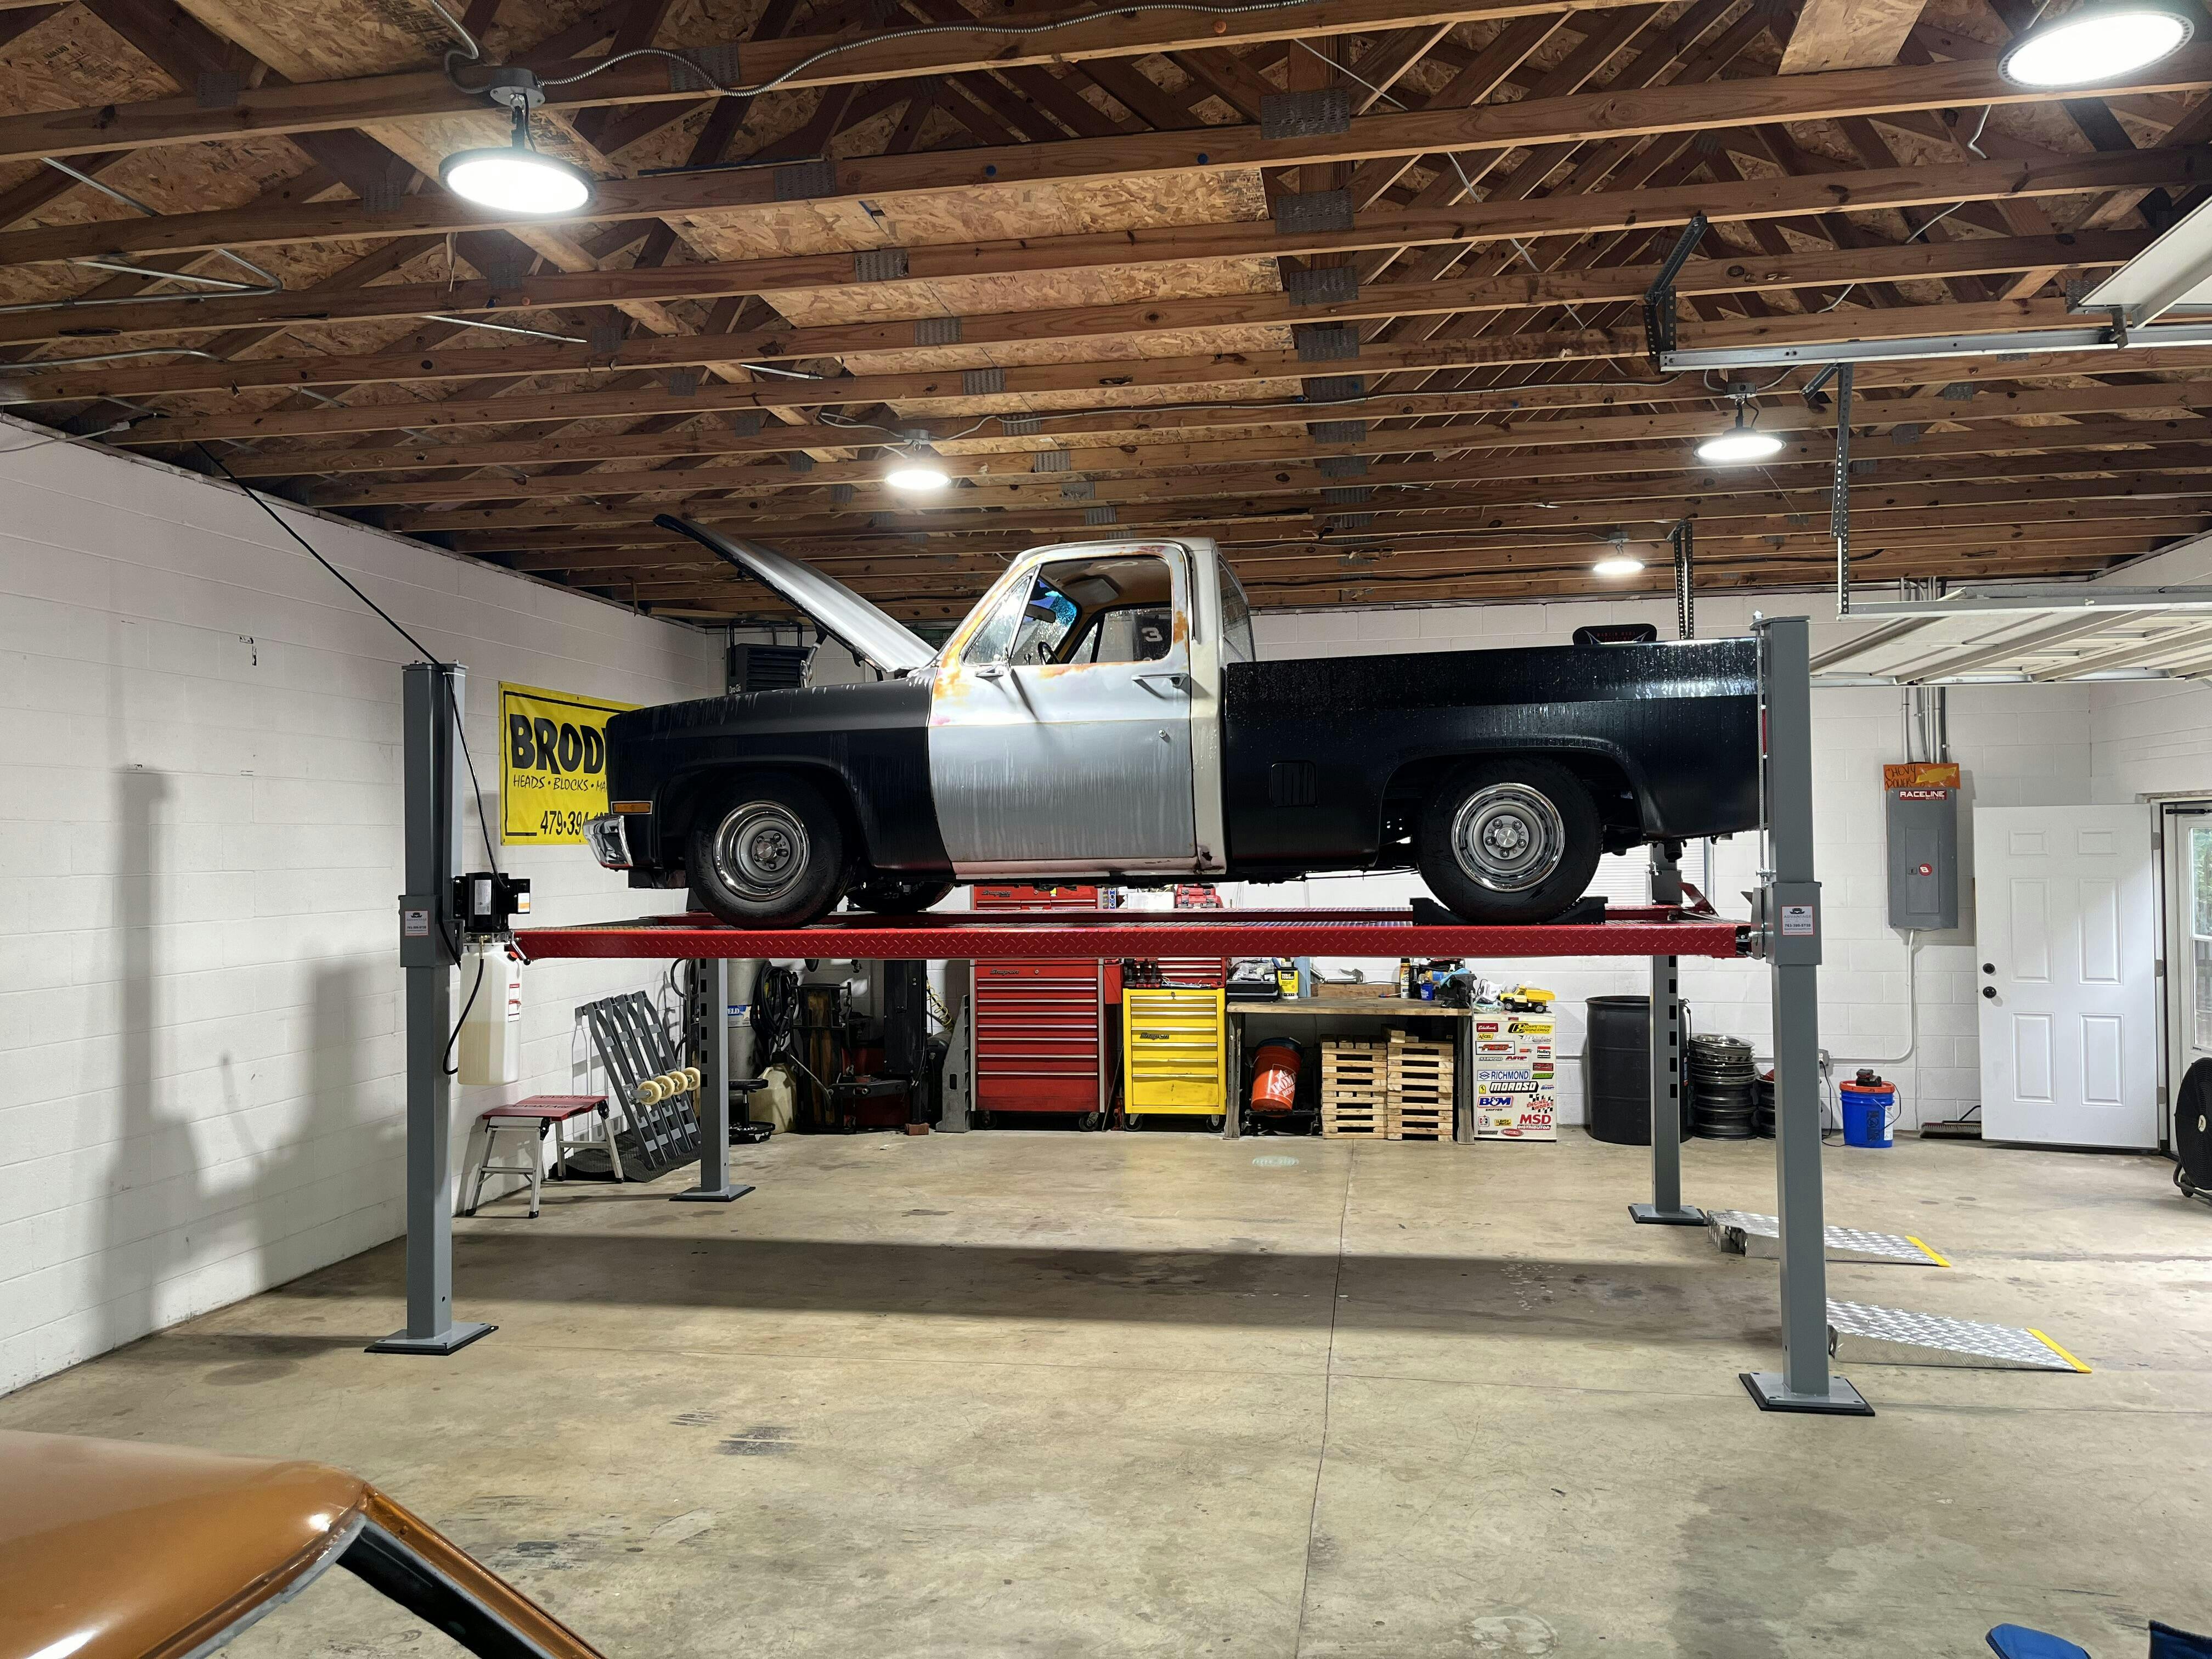
Safety checks are a crucial part of the installation process and should never be overlooked. This includes confirming that the locking mechanisms engage properly, as these locks are what hold the lift in place rather than the hydraulic system itself. Once the lift has been tested without a load, introducing a vehicle gradually allows you to confirm balance and stability under real-world conditions.
While many homeowners successfully install 4-post lifts on their own, there are situations where professional installation is the better choice. This is especially true for 2-post lifts, which require precise anchoring and often involve electrical upgrades. Hiring a professional can also provide peace of mind for those who are unfamiliar with mechanical systems or working with heavy equipment.
From a cost perspective, installation can range from a few hundred dollars for a DIY setup to several thousand for professional services. However, when compared to the long-term benefits of increased storage, improved organization, and enhanced vehicle protection, the investment is relatively small. A properly installed lift not only improves the functionality of your garage but also adds a level of efficiency that is difficult to achieve through any other upgrade.
In the end, installing a car lift is not just about adding equipment—it’s about transforming your space into a more capable, organized, and valuable asset. With the right preparation and attention to detail, the process can be straightforward and highly rewarding.